
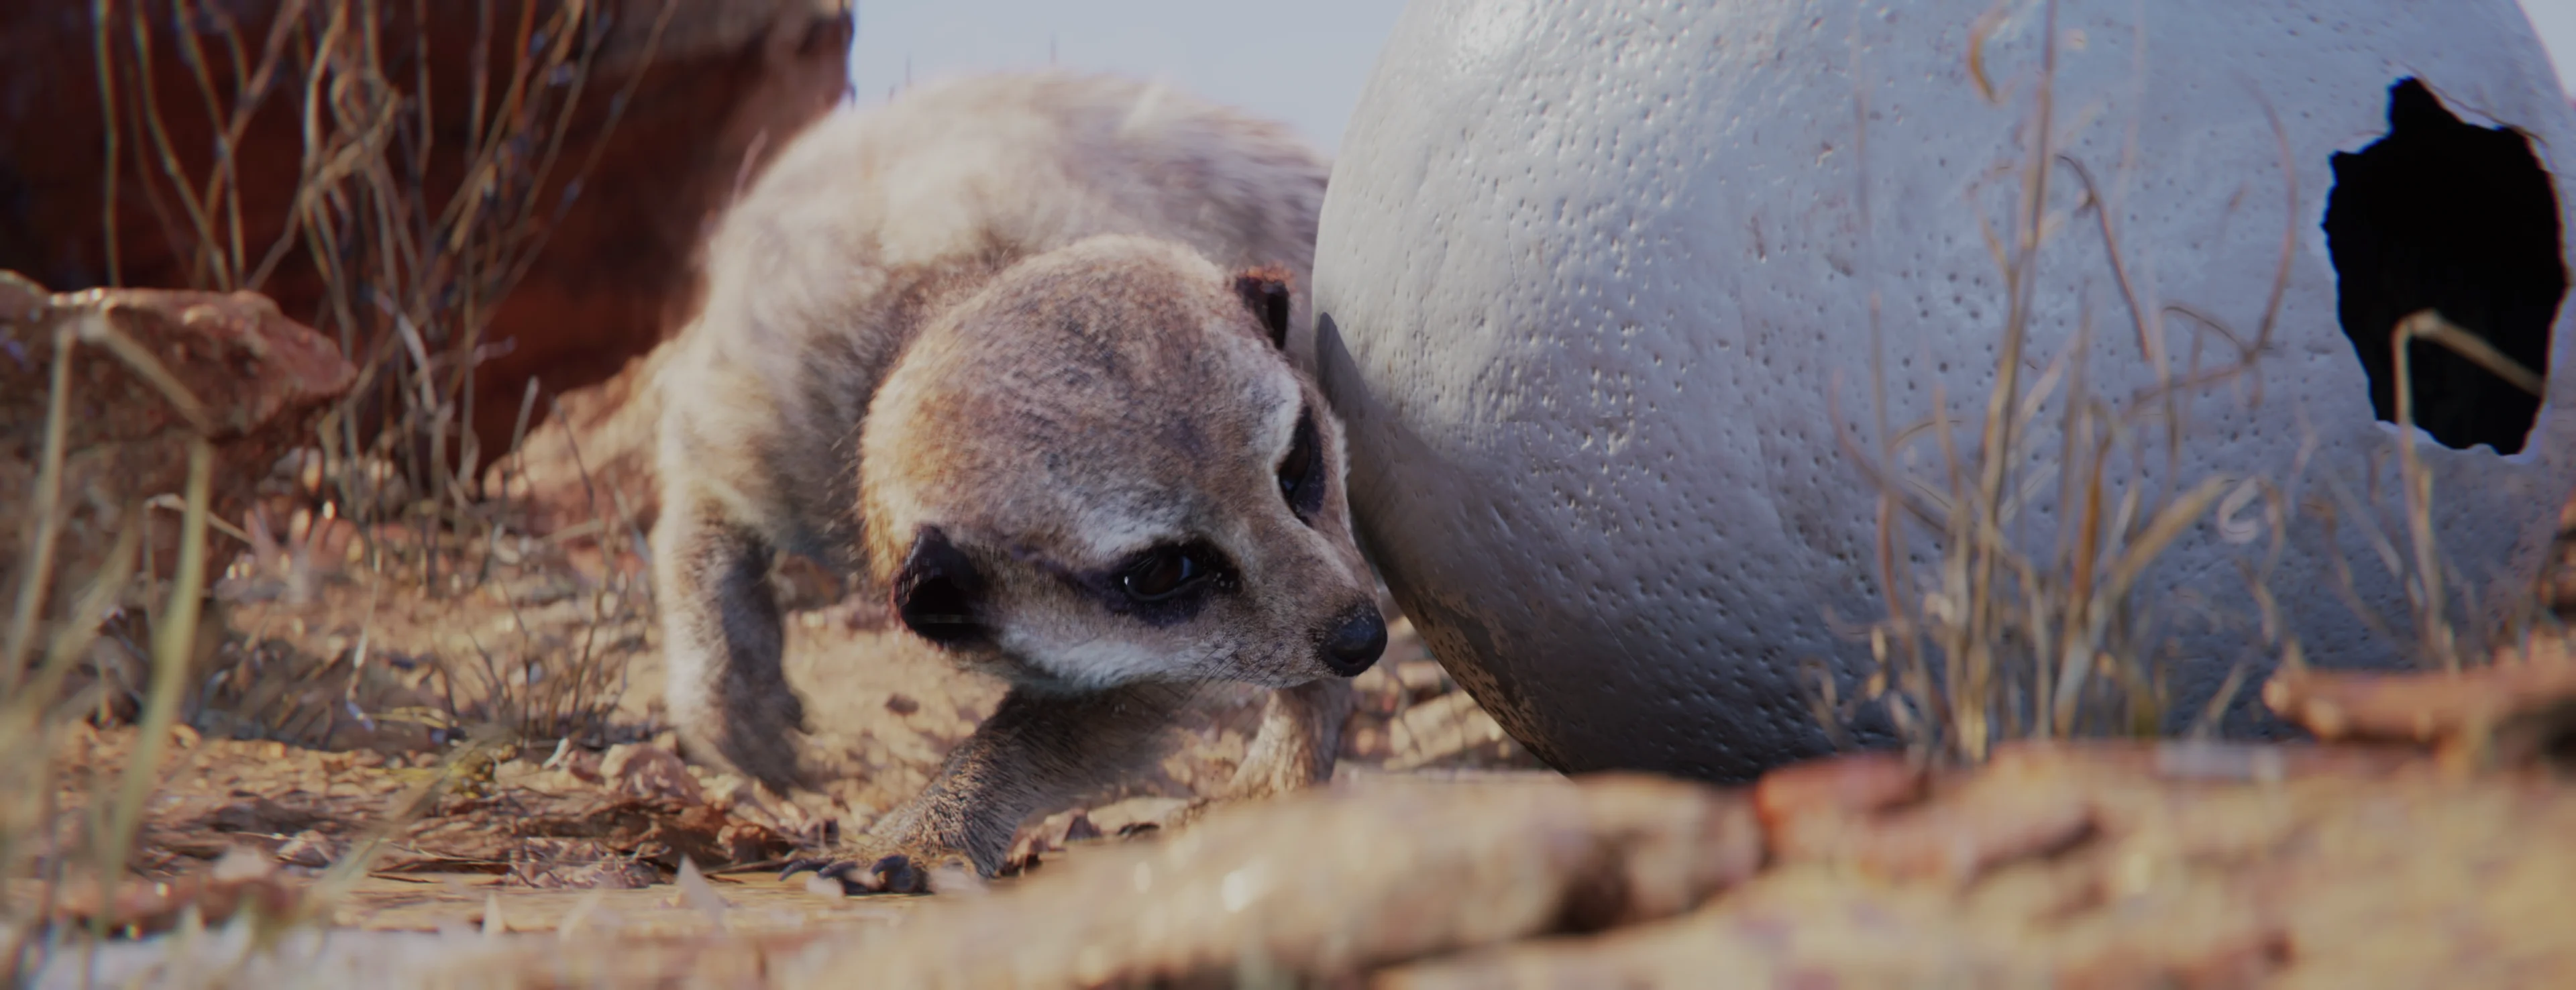
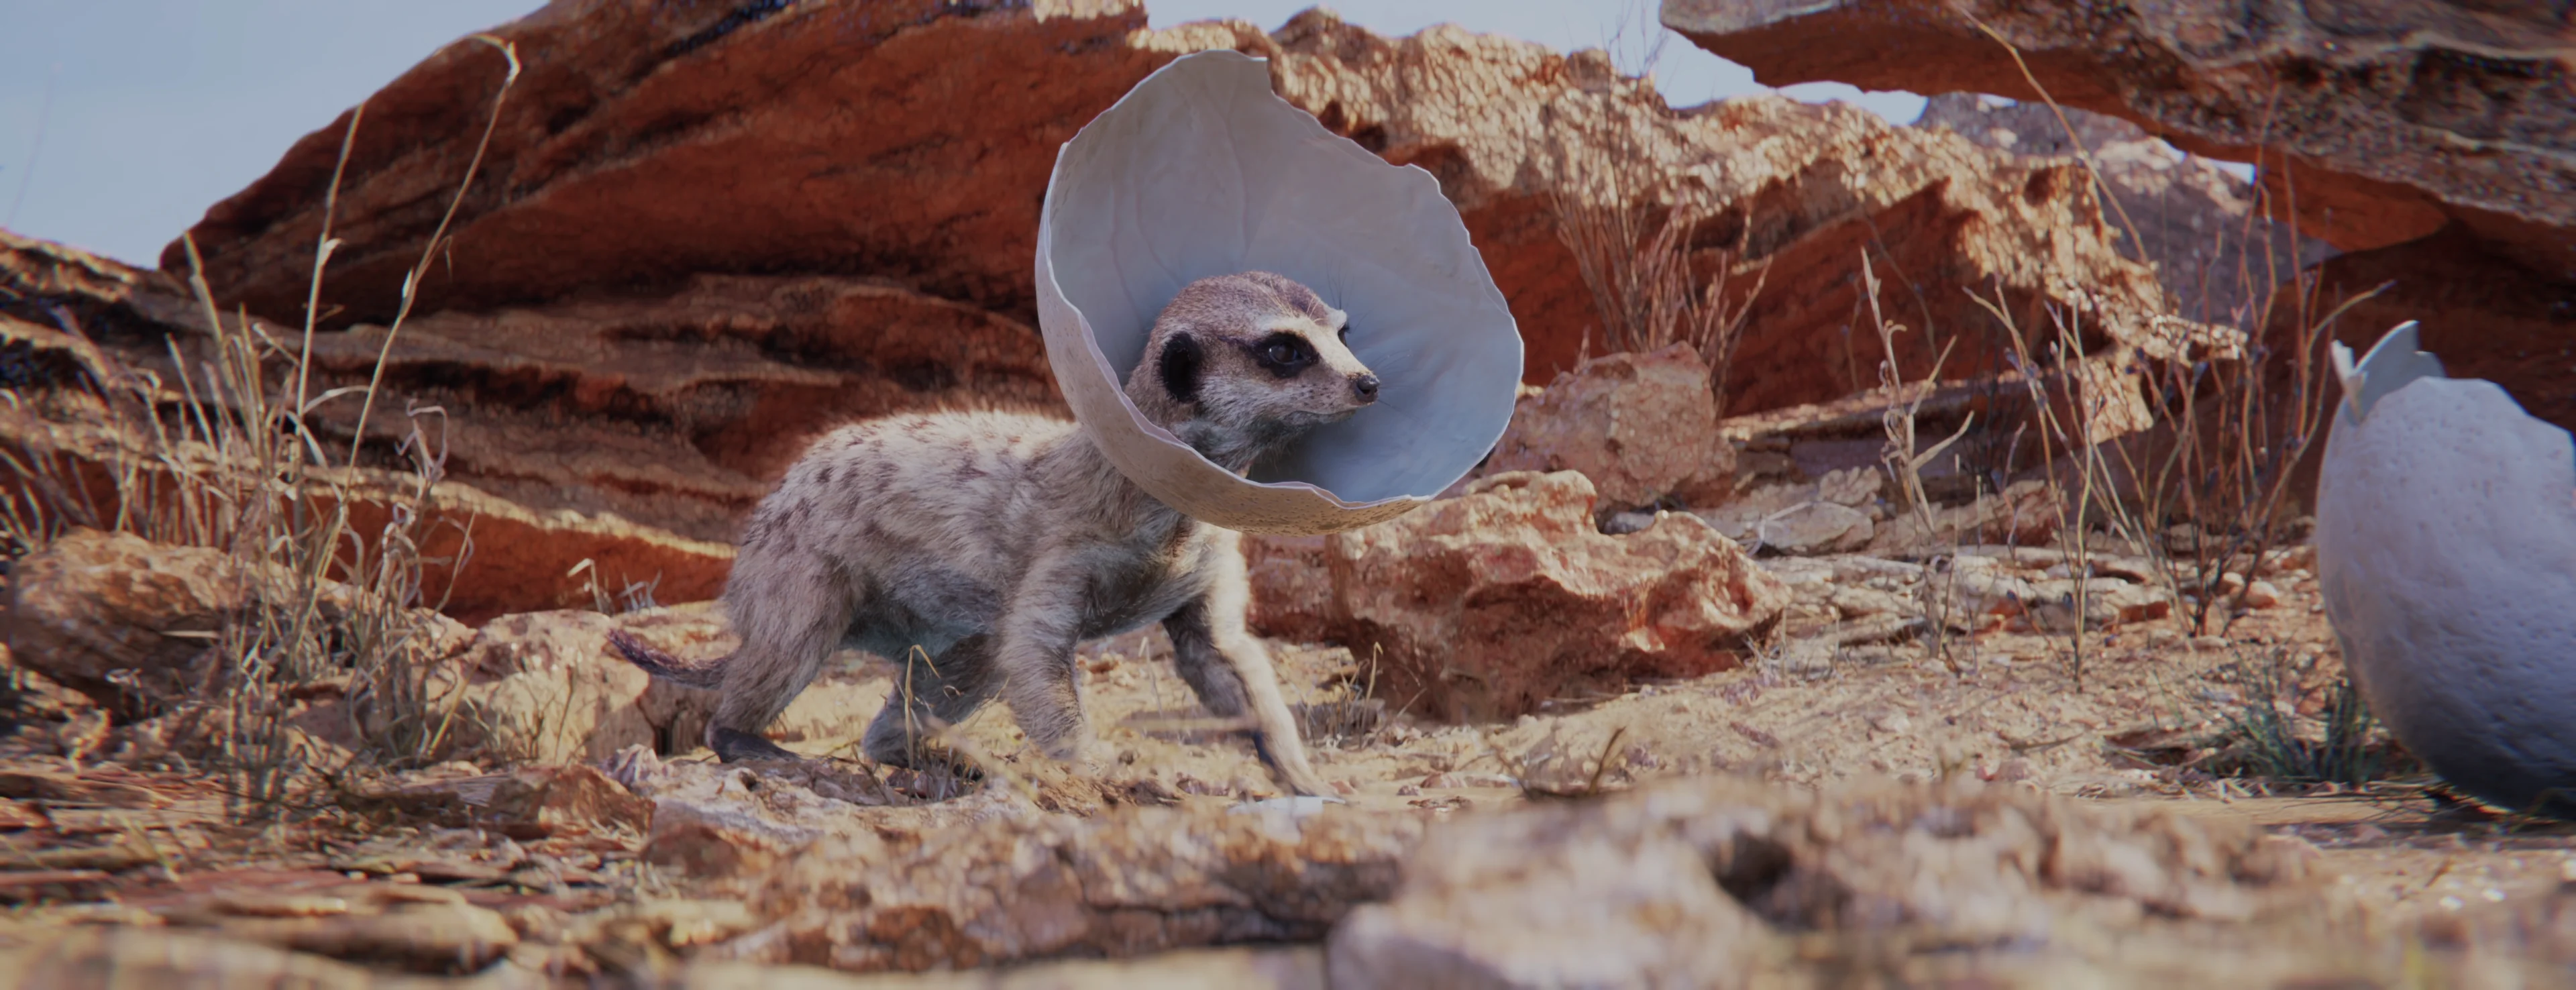
Snapshot of the frame which the YouTube thumbnail is based on. A meerkat investigates the outside of a large egg

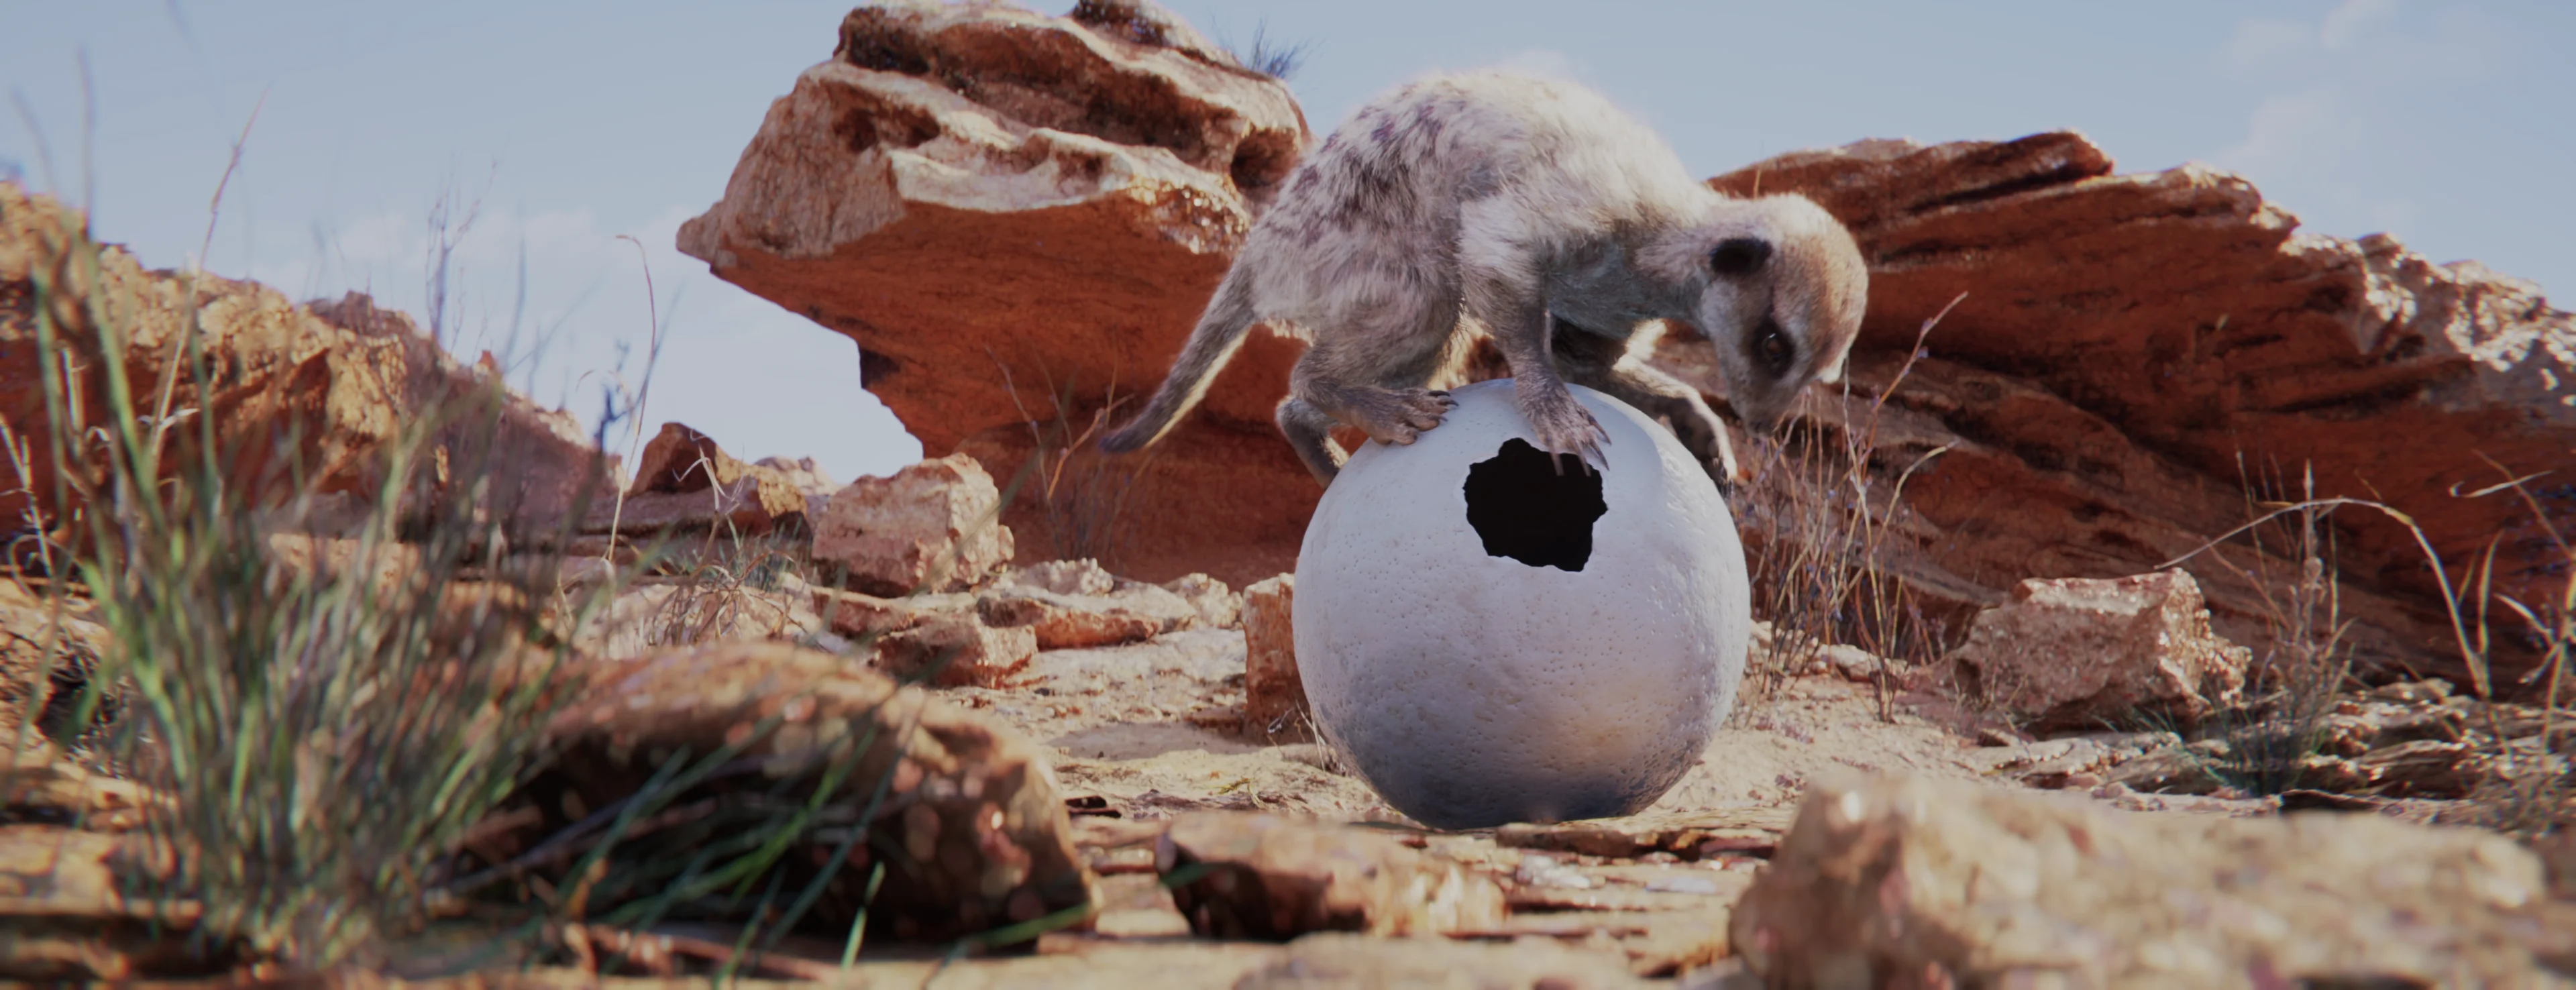
A meerkat balances atop a large egg in a desert

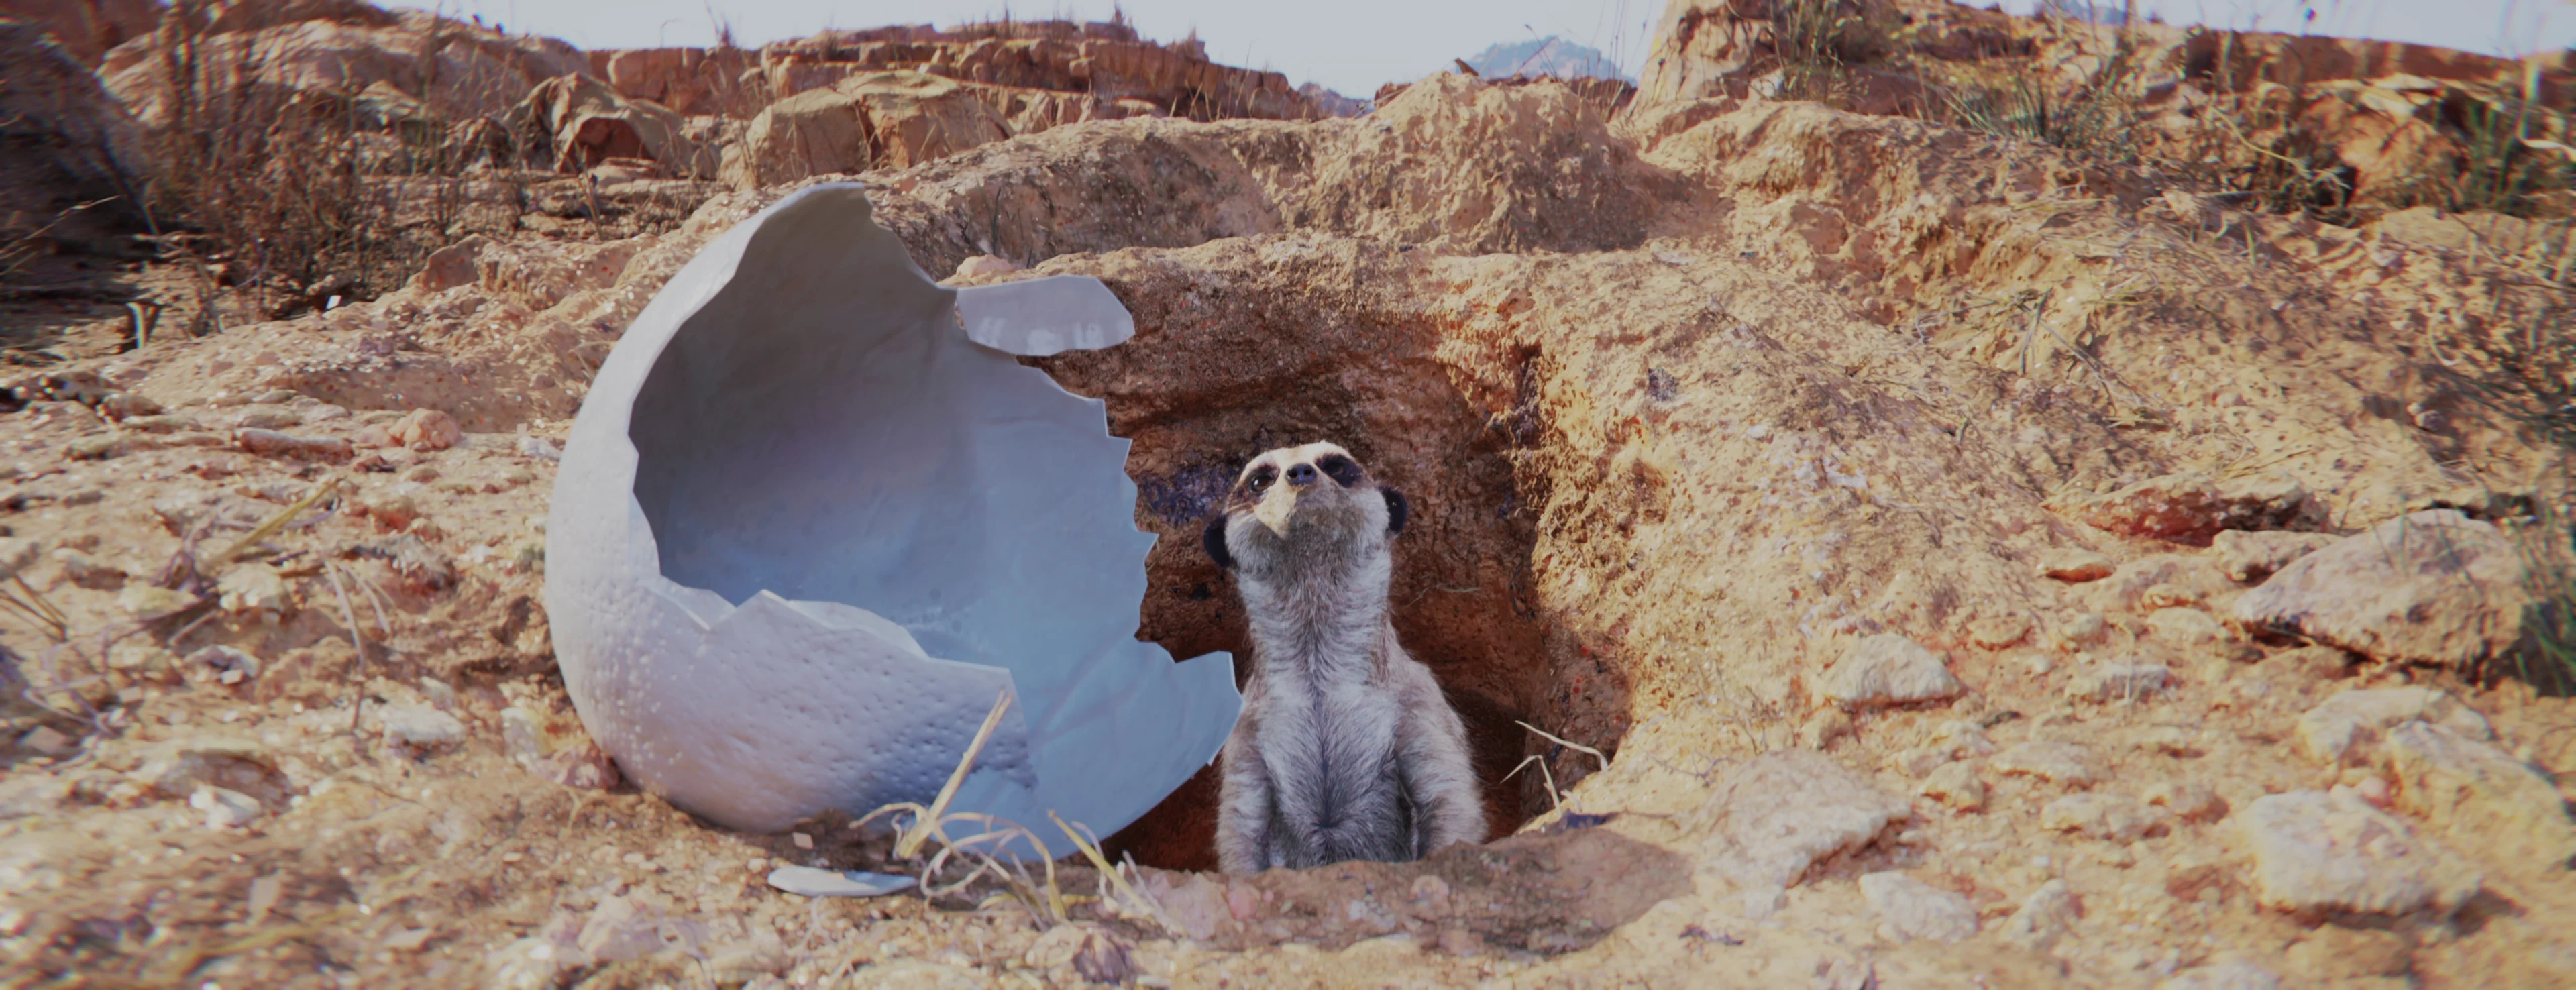
A meerkat gets ready to pounce from its burrow

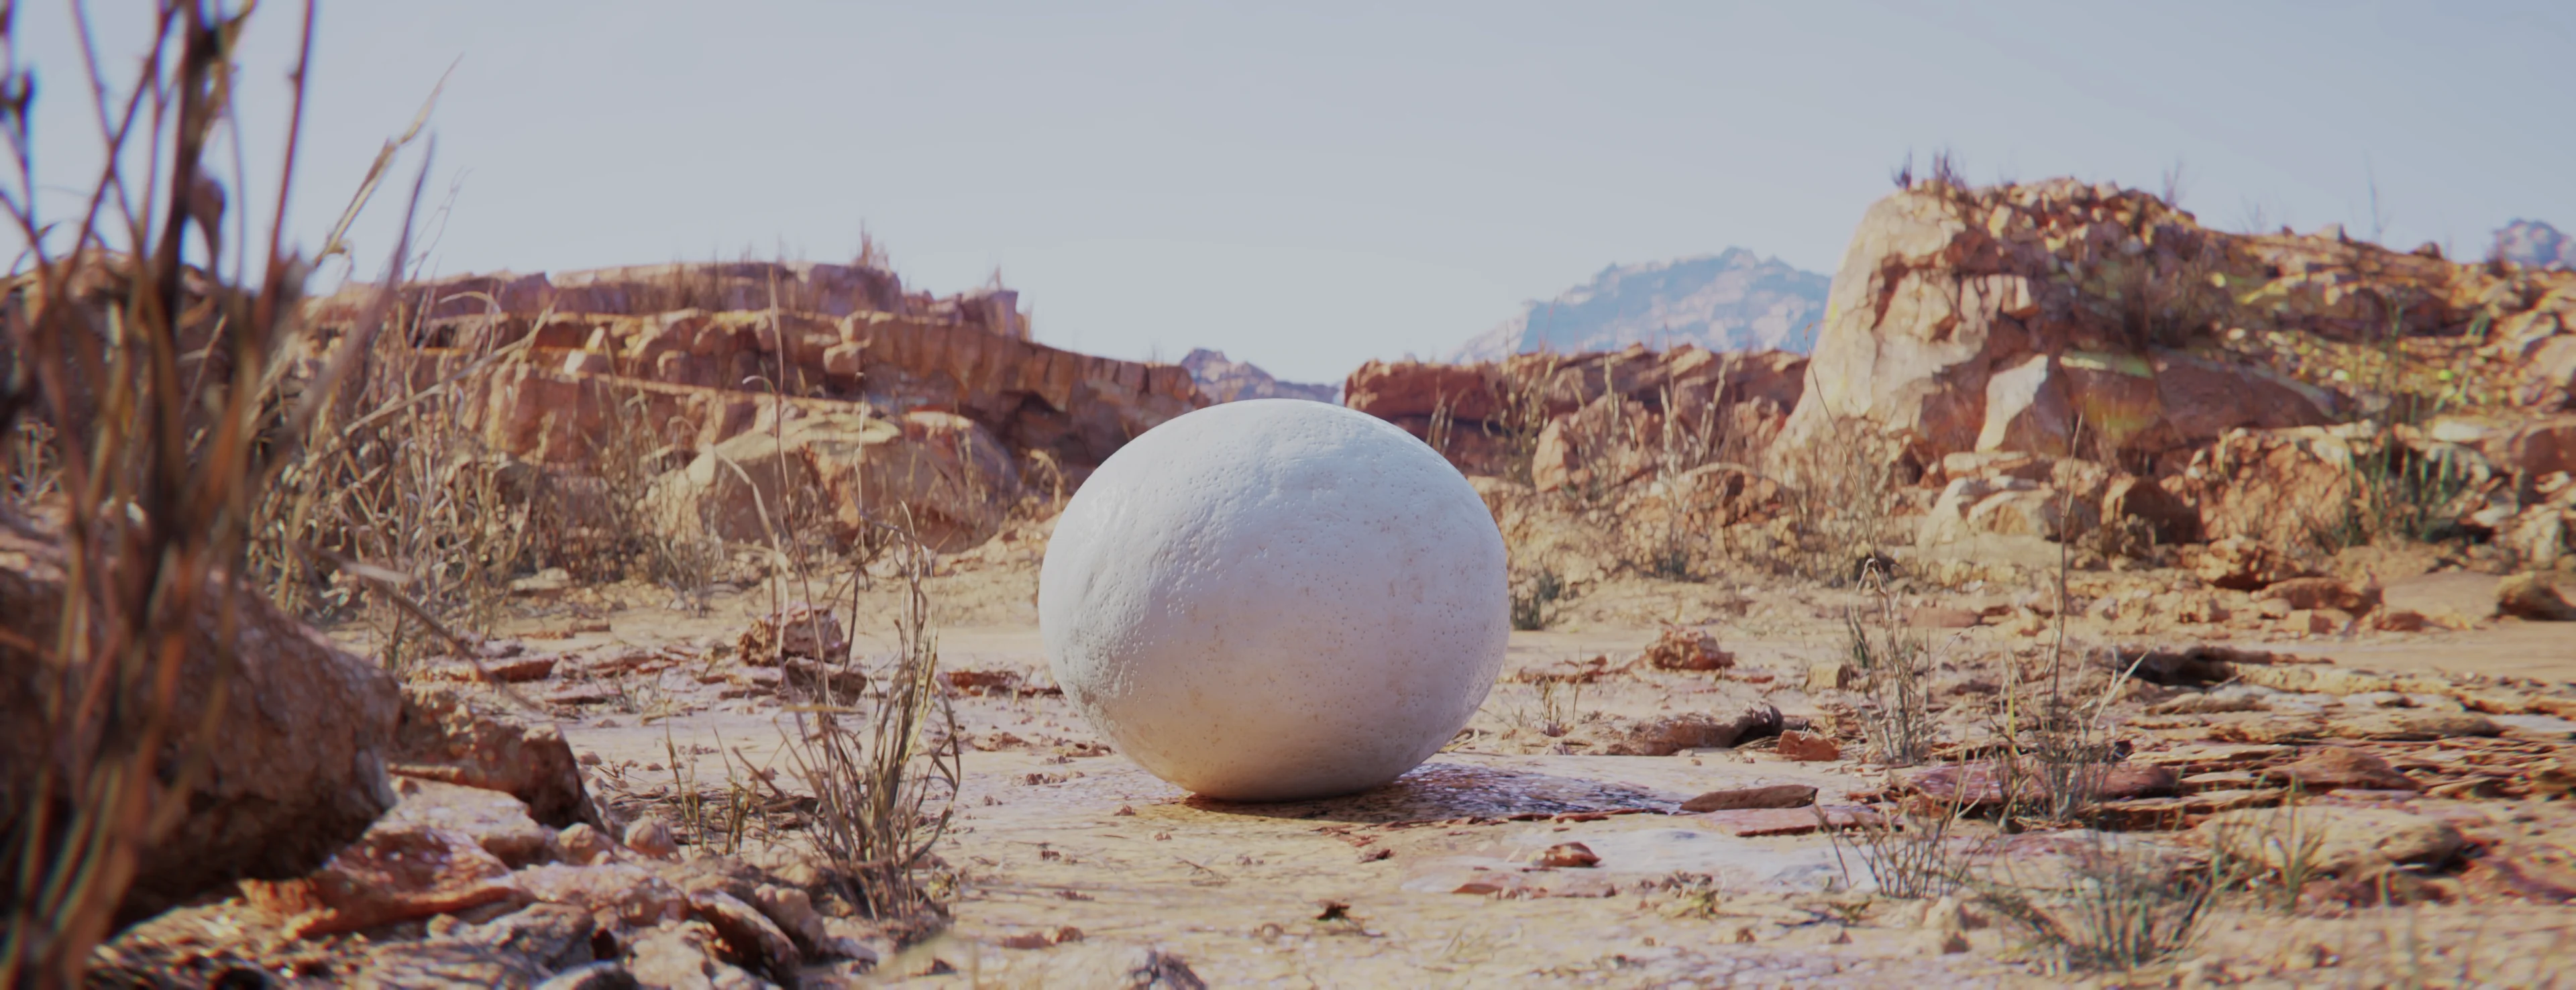
A large egg sits alone in a desert

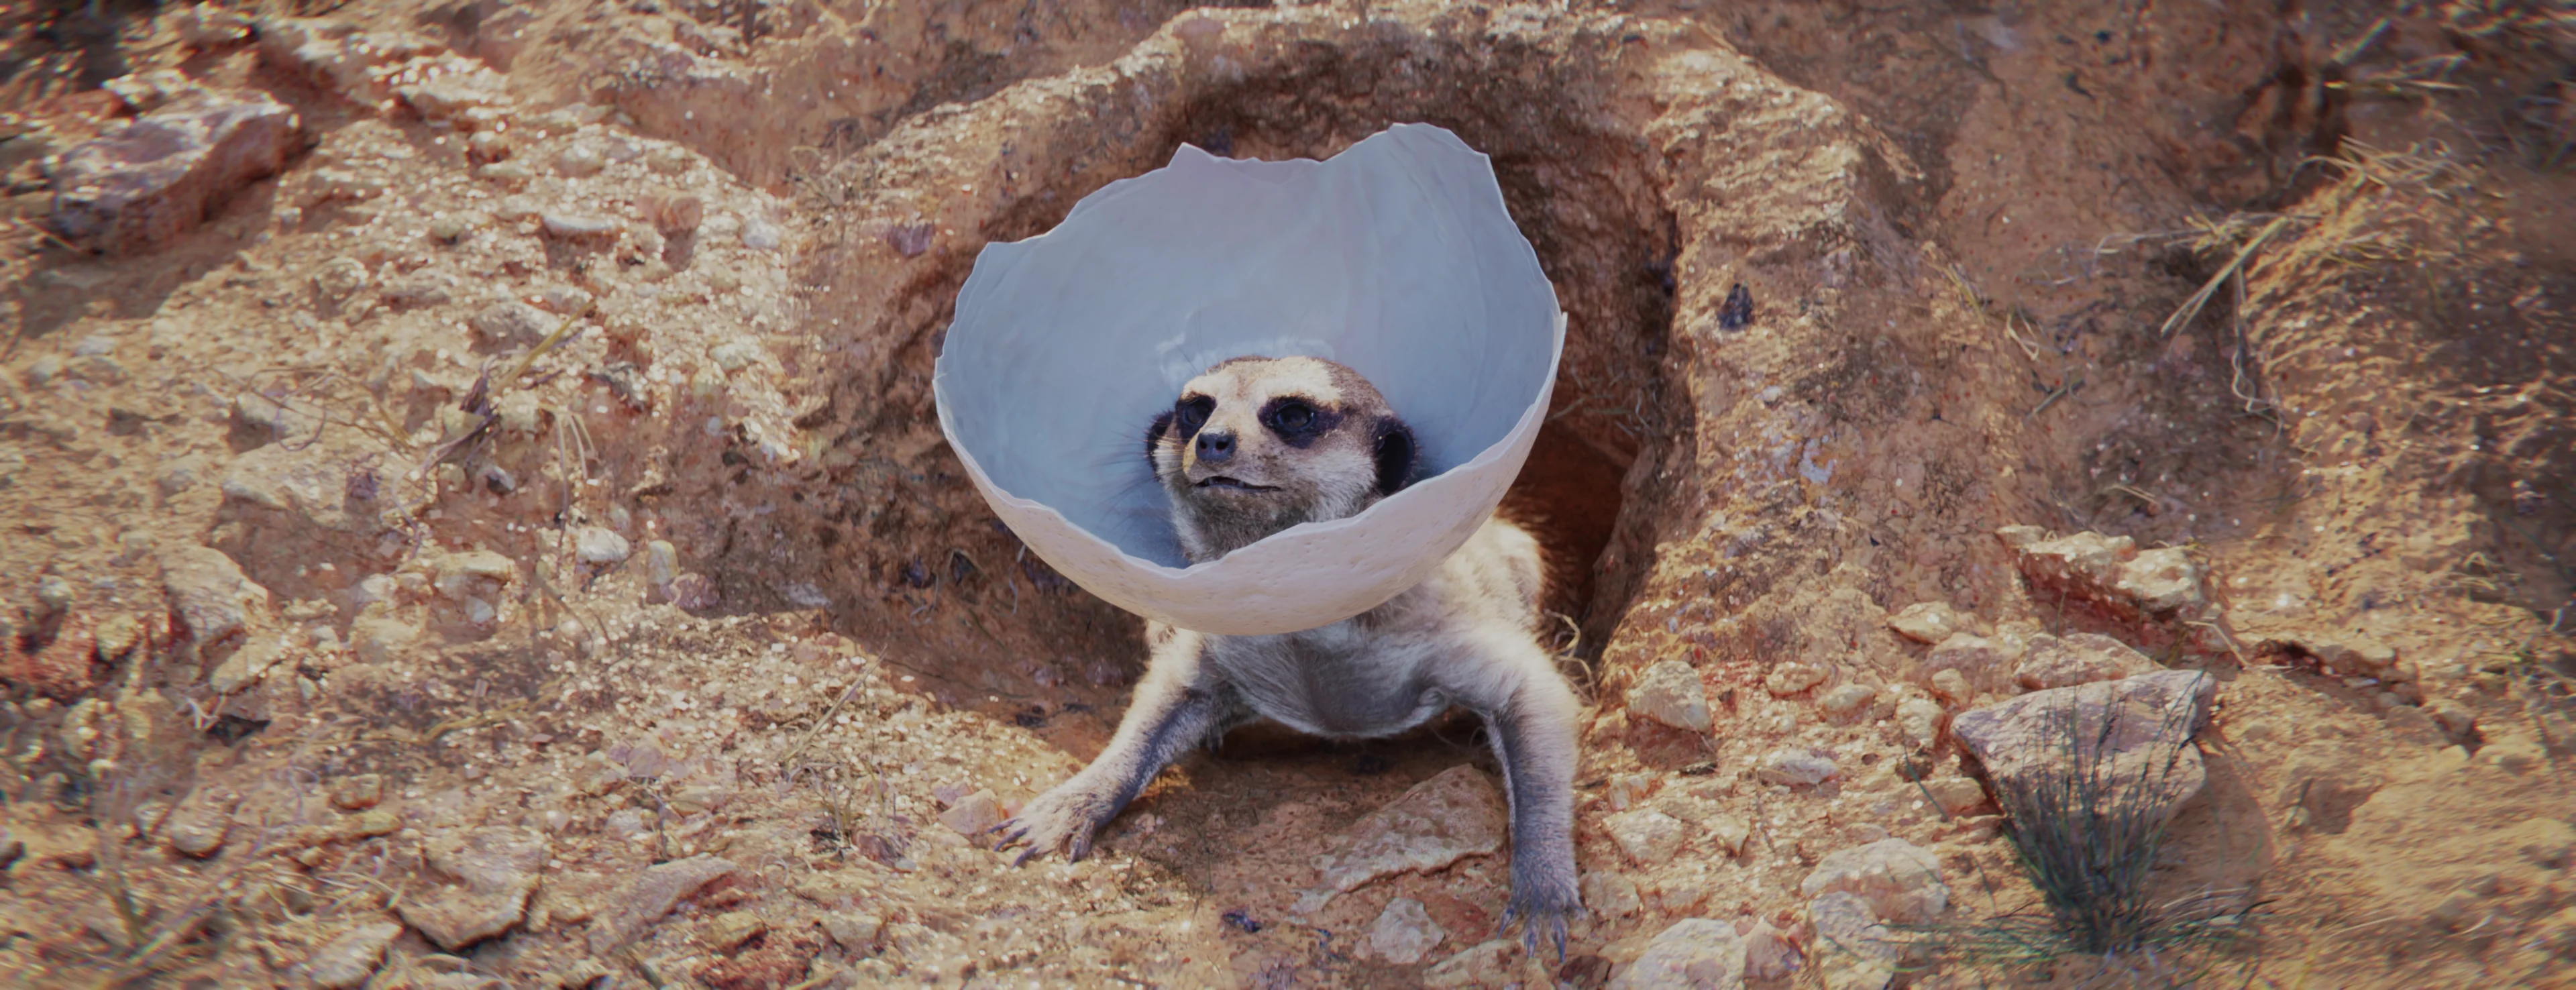
A meerkat whose head is poking through a hole in a large egg


A meerkat in its lookout position, searching the source of an eagle call


A bird flies in the sky, with a lens flare behind it

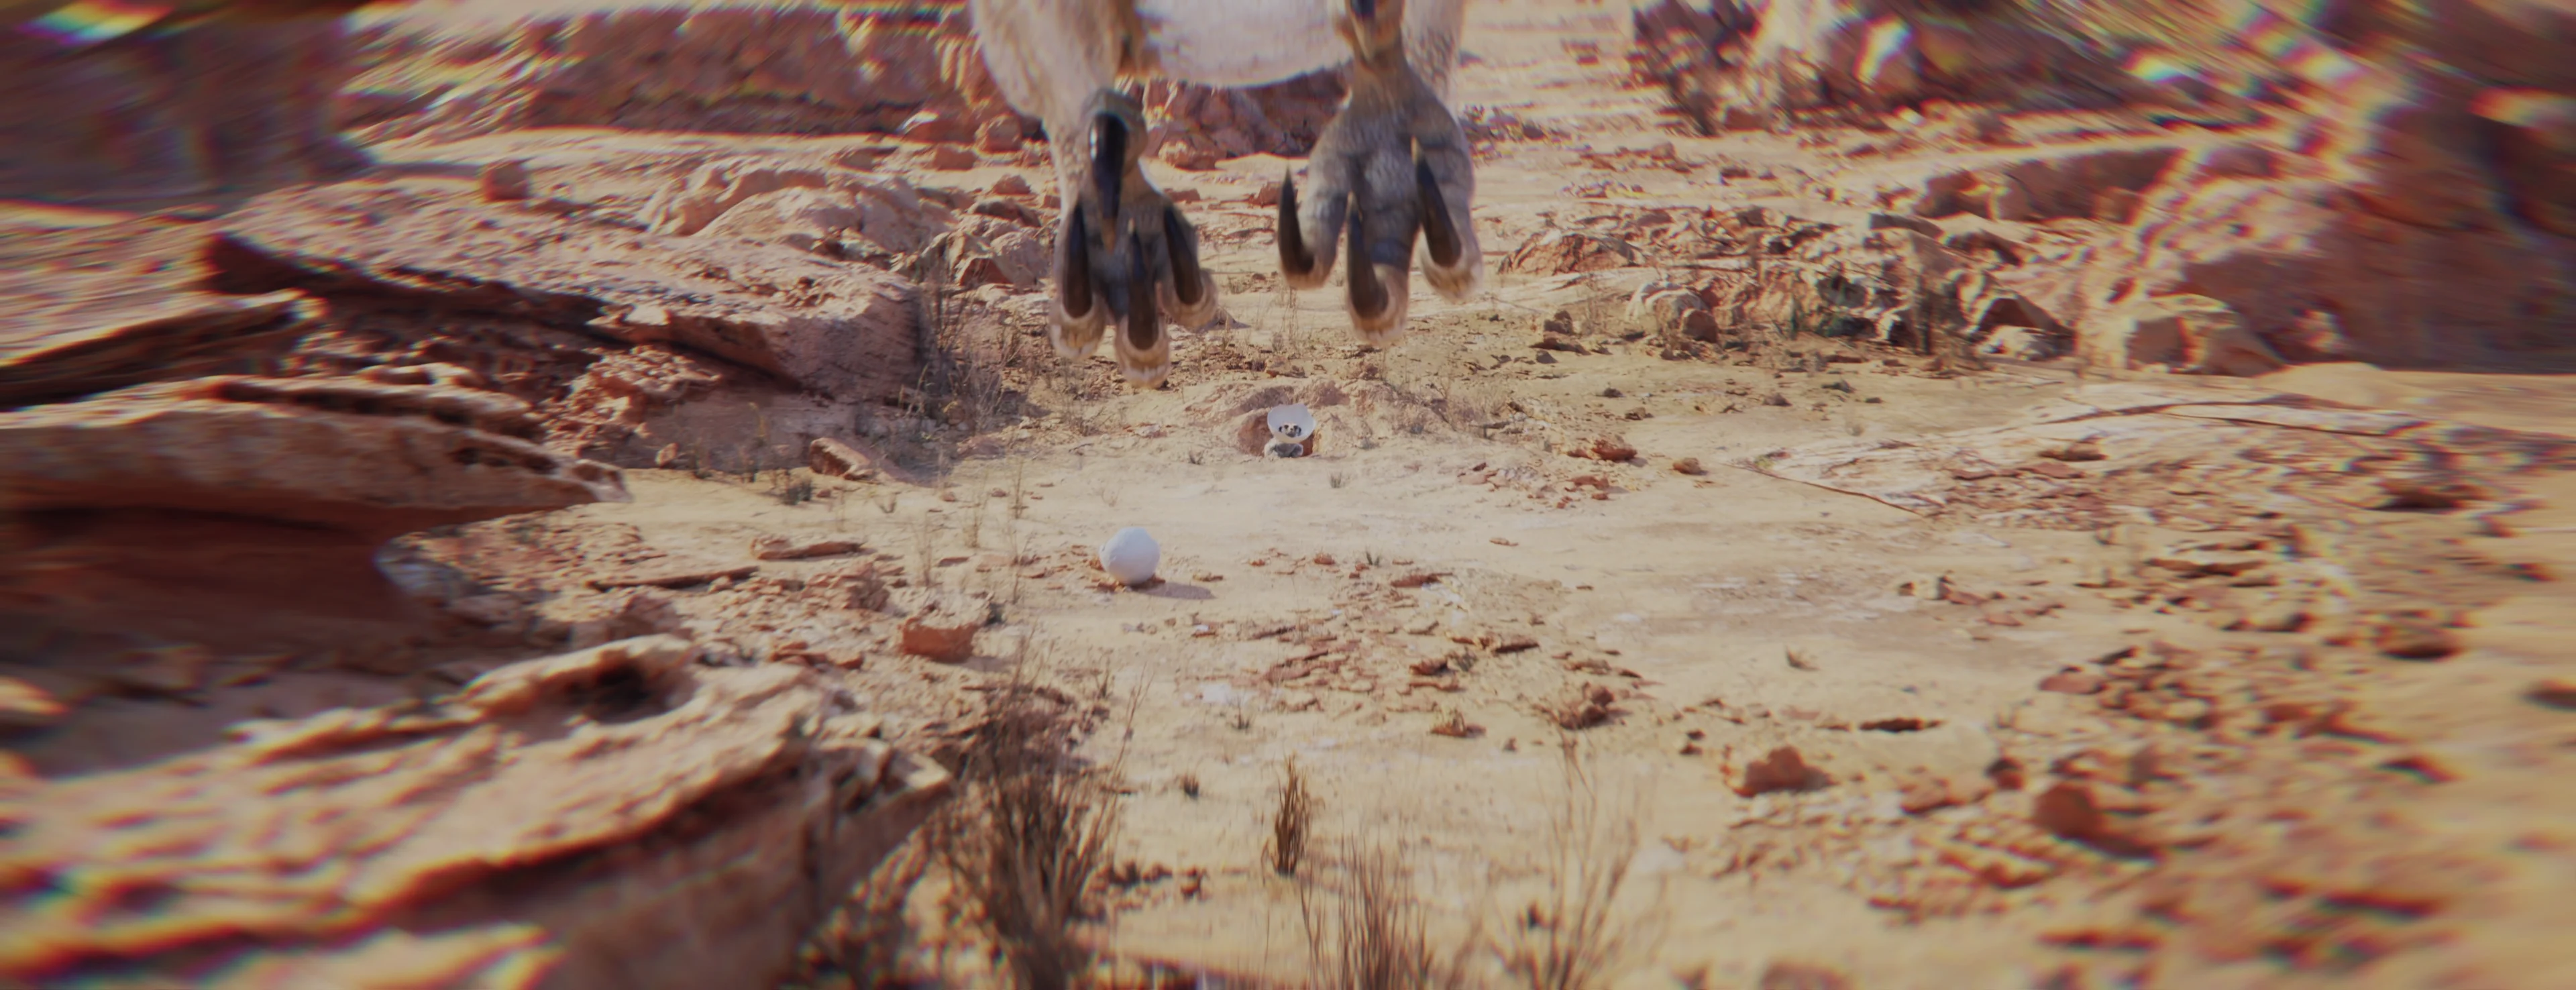
An eagle flies at a high rate of speed, attempting to pick up a meerkat with its talons

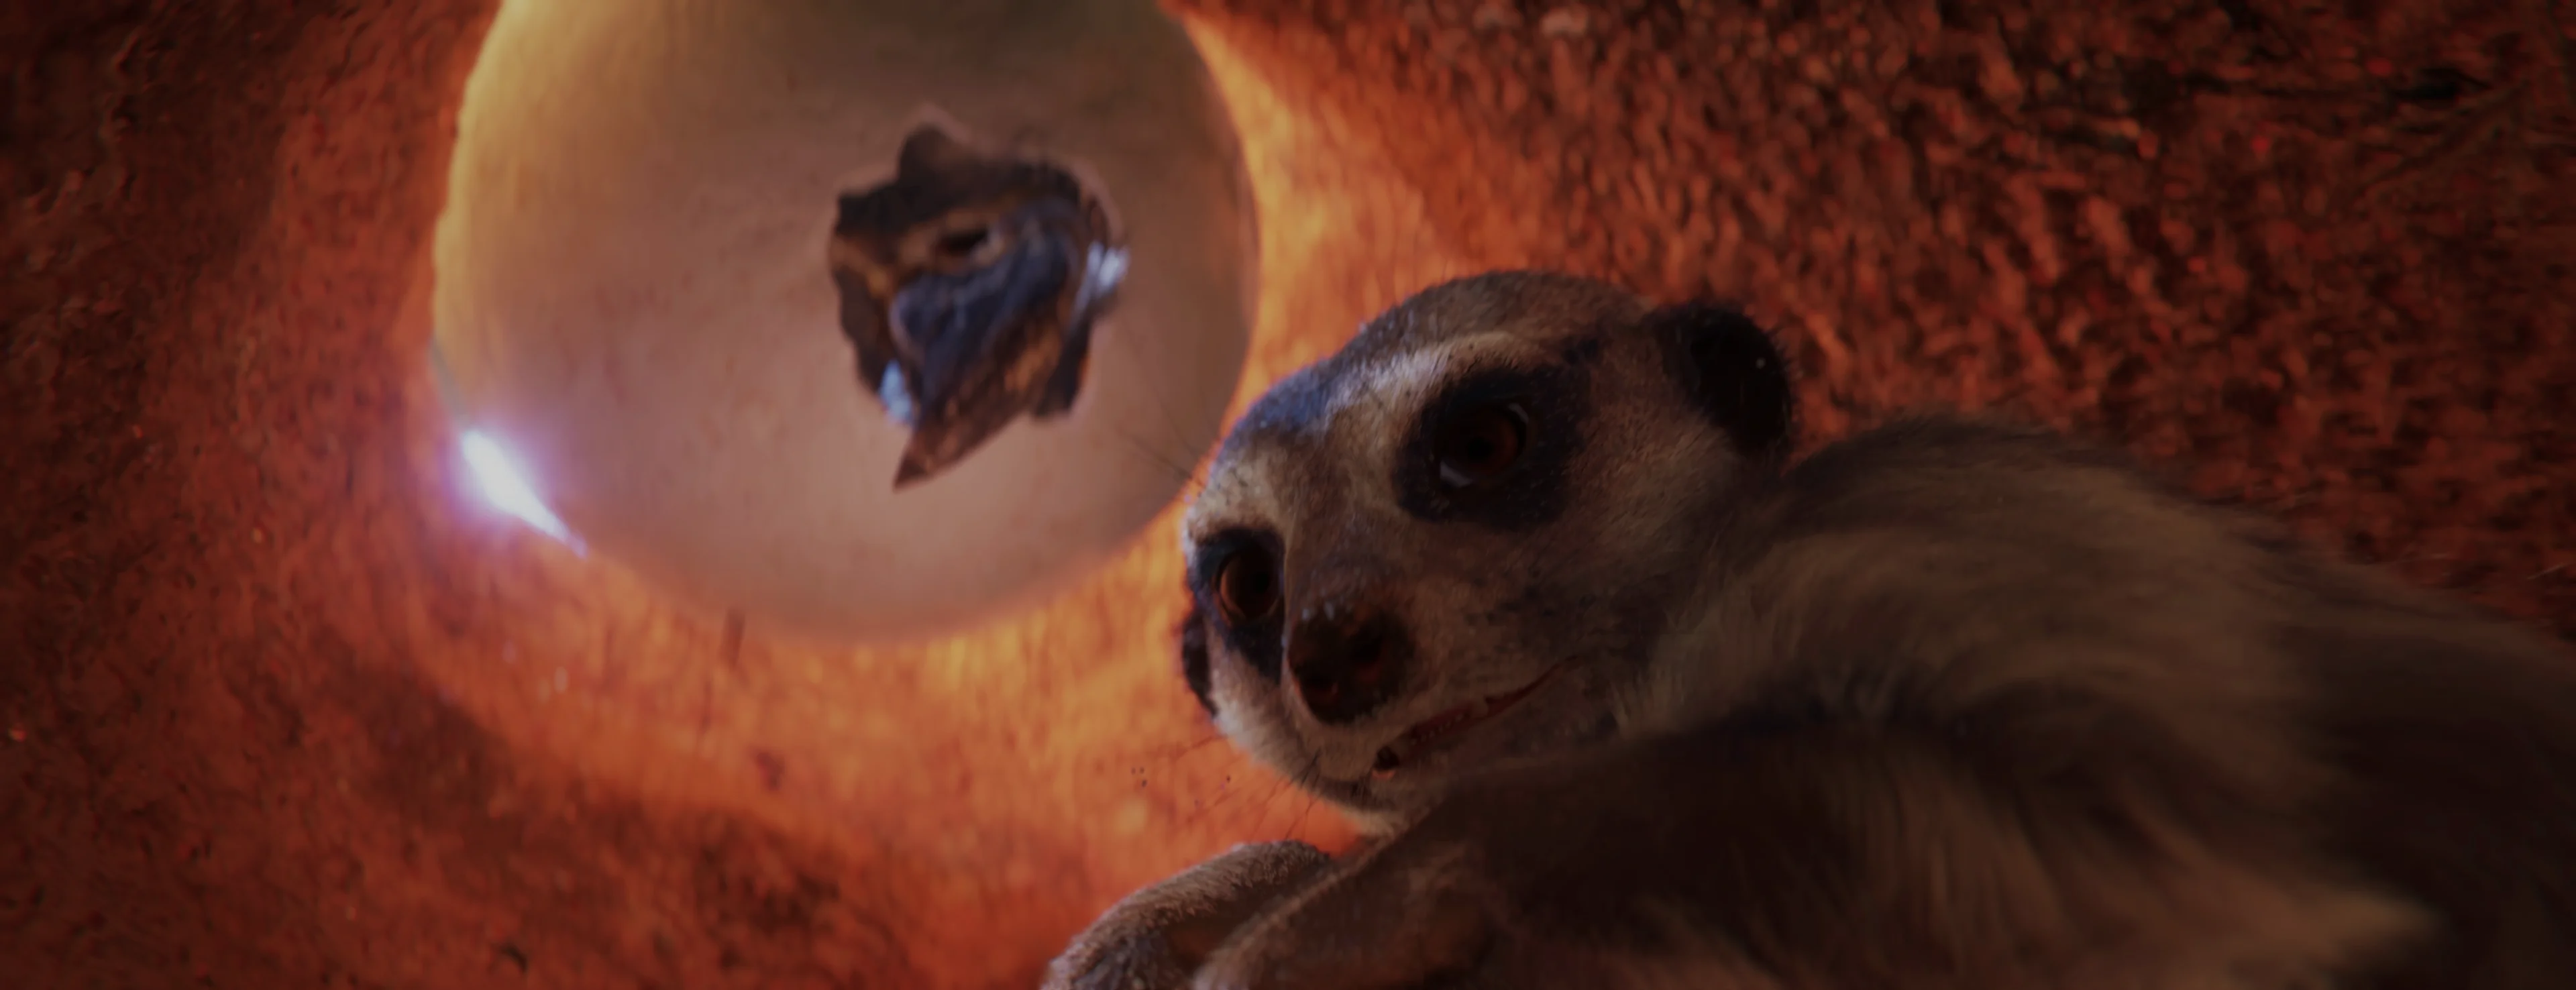
A meerkat shakes in fear, deep inside its burrow as an eagle's beak pokes through the entrance

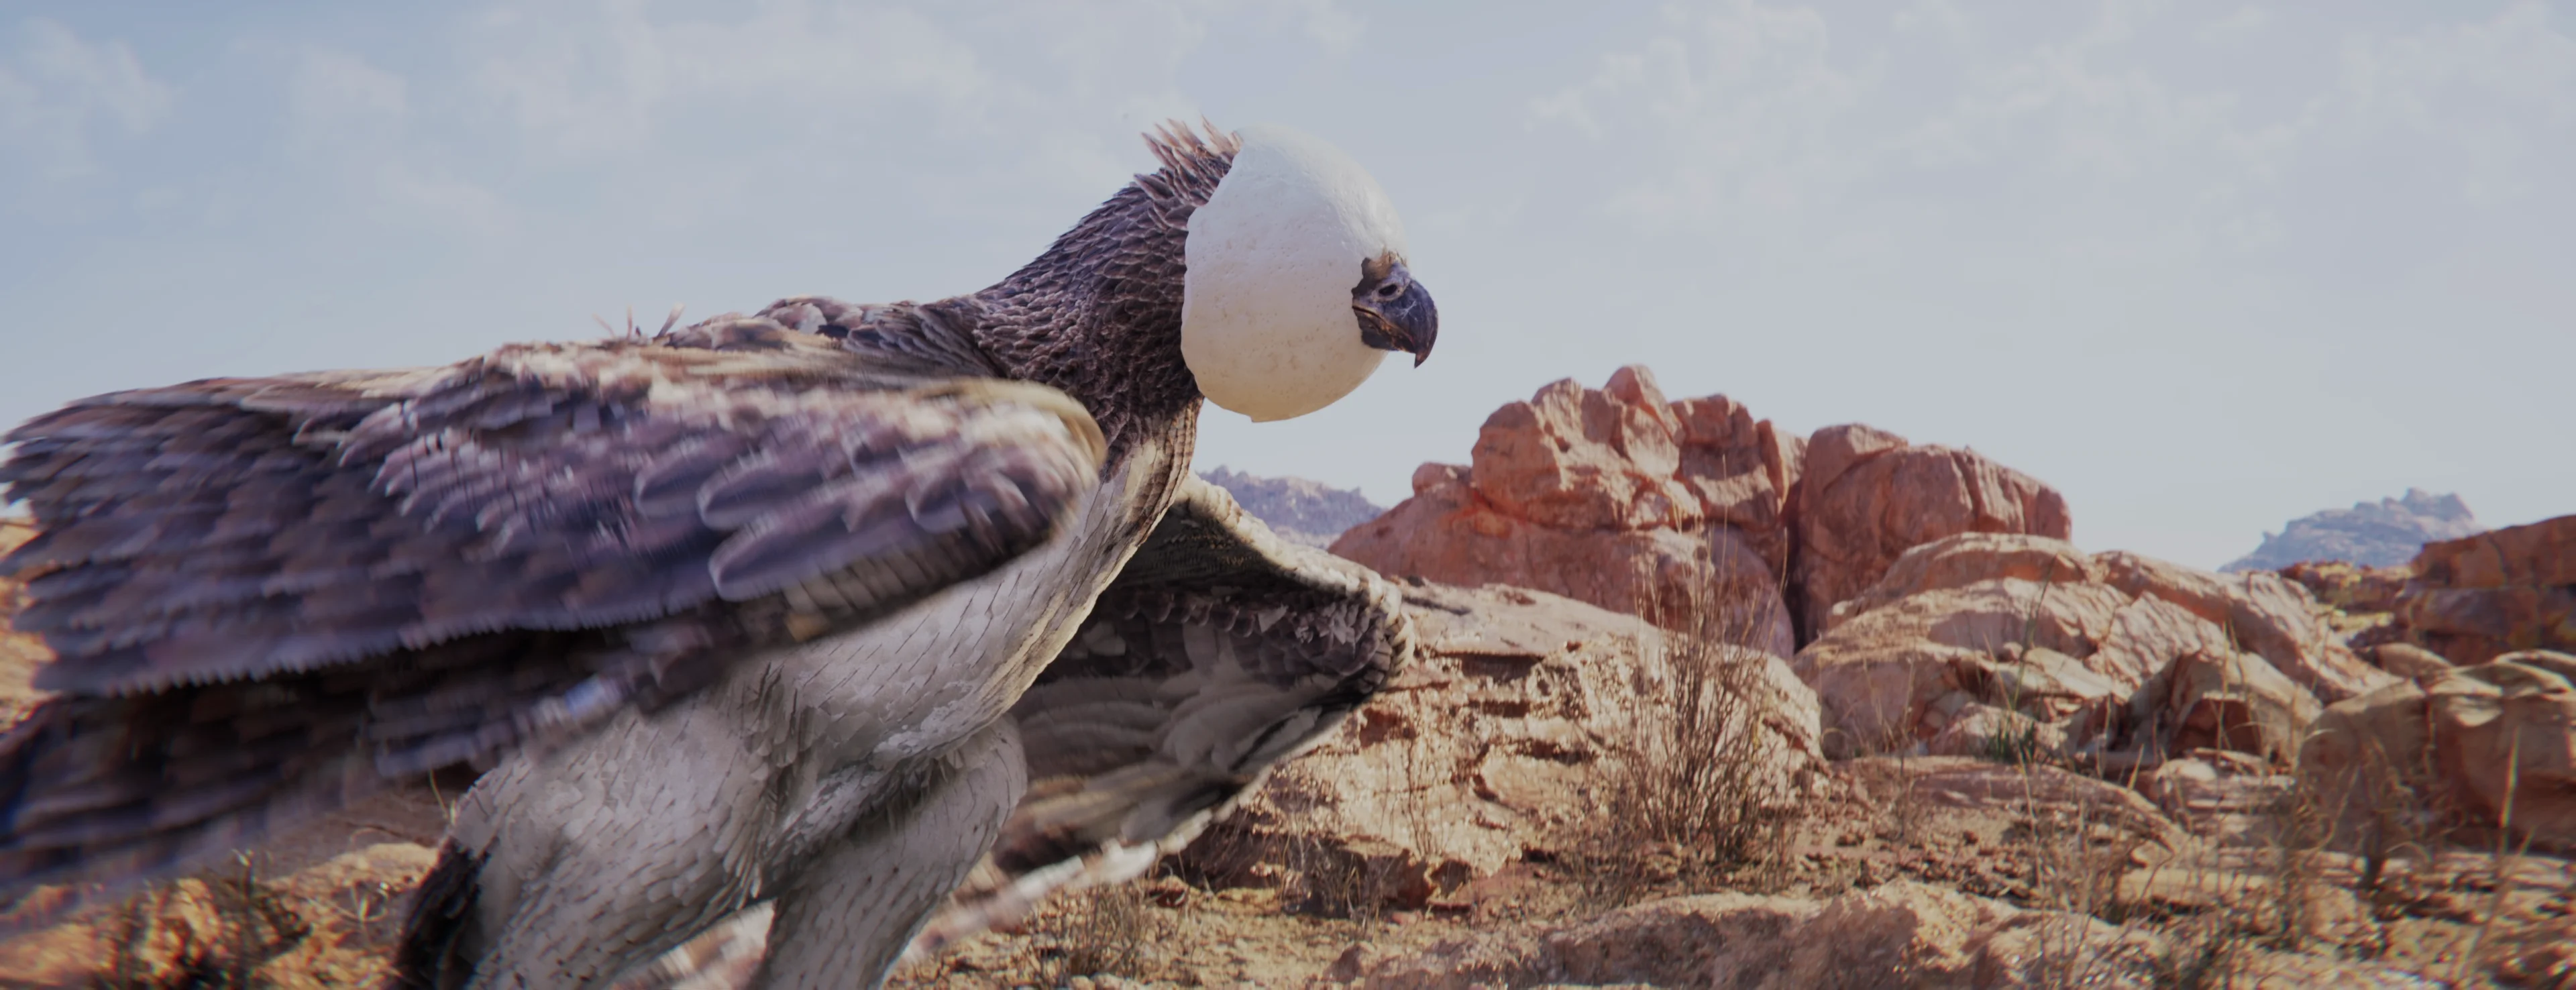
An eagle's beak pokes through a hole in a large egg in comedic fashion


An eagle attempts to free its beak from a hole in a large egg

A meerkat searches the skies for the location of an eagle, with an egg beside it

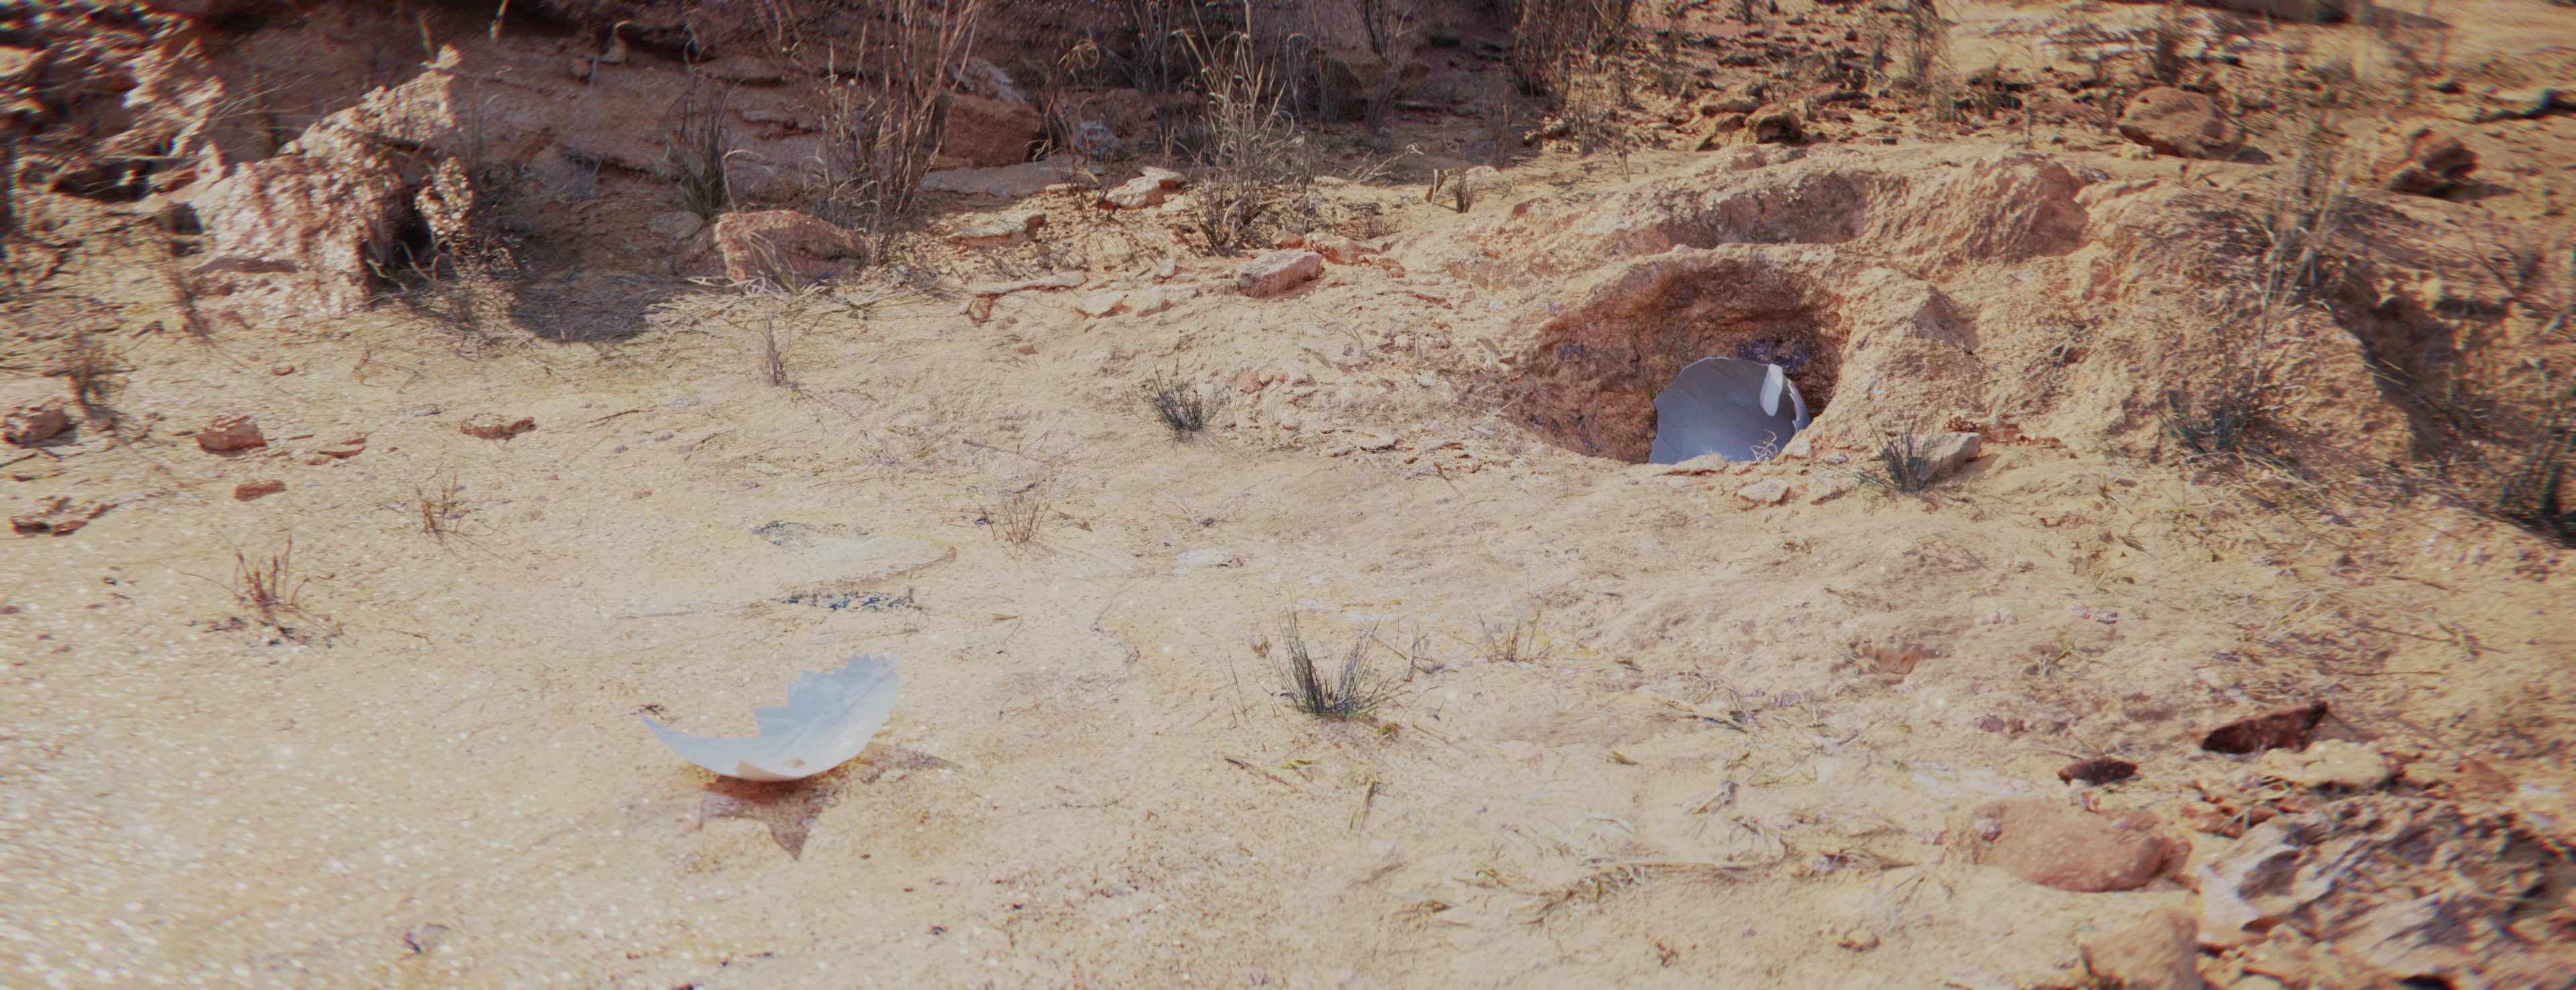
A meerkat burrow's entrance is covered by a large egg
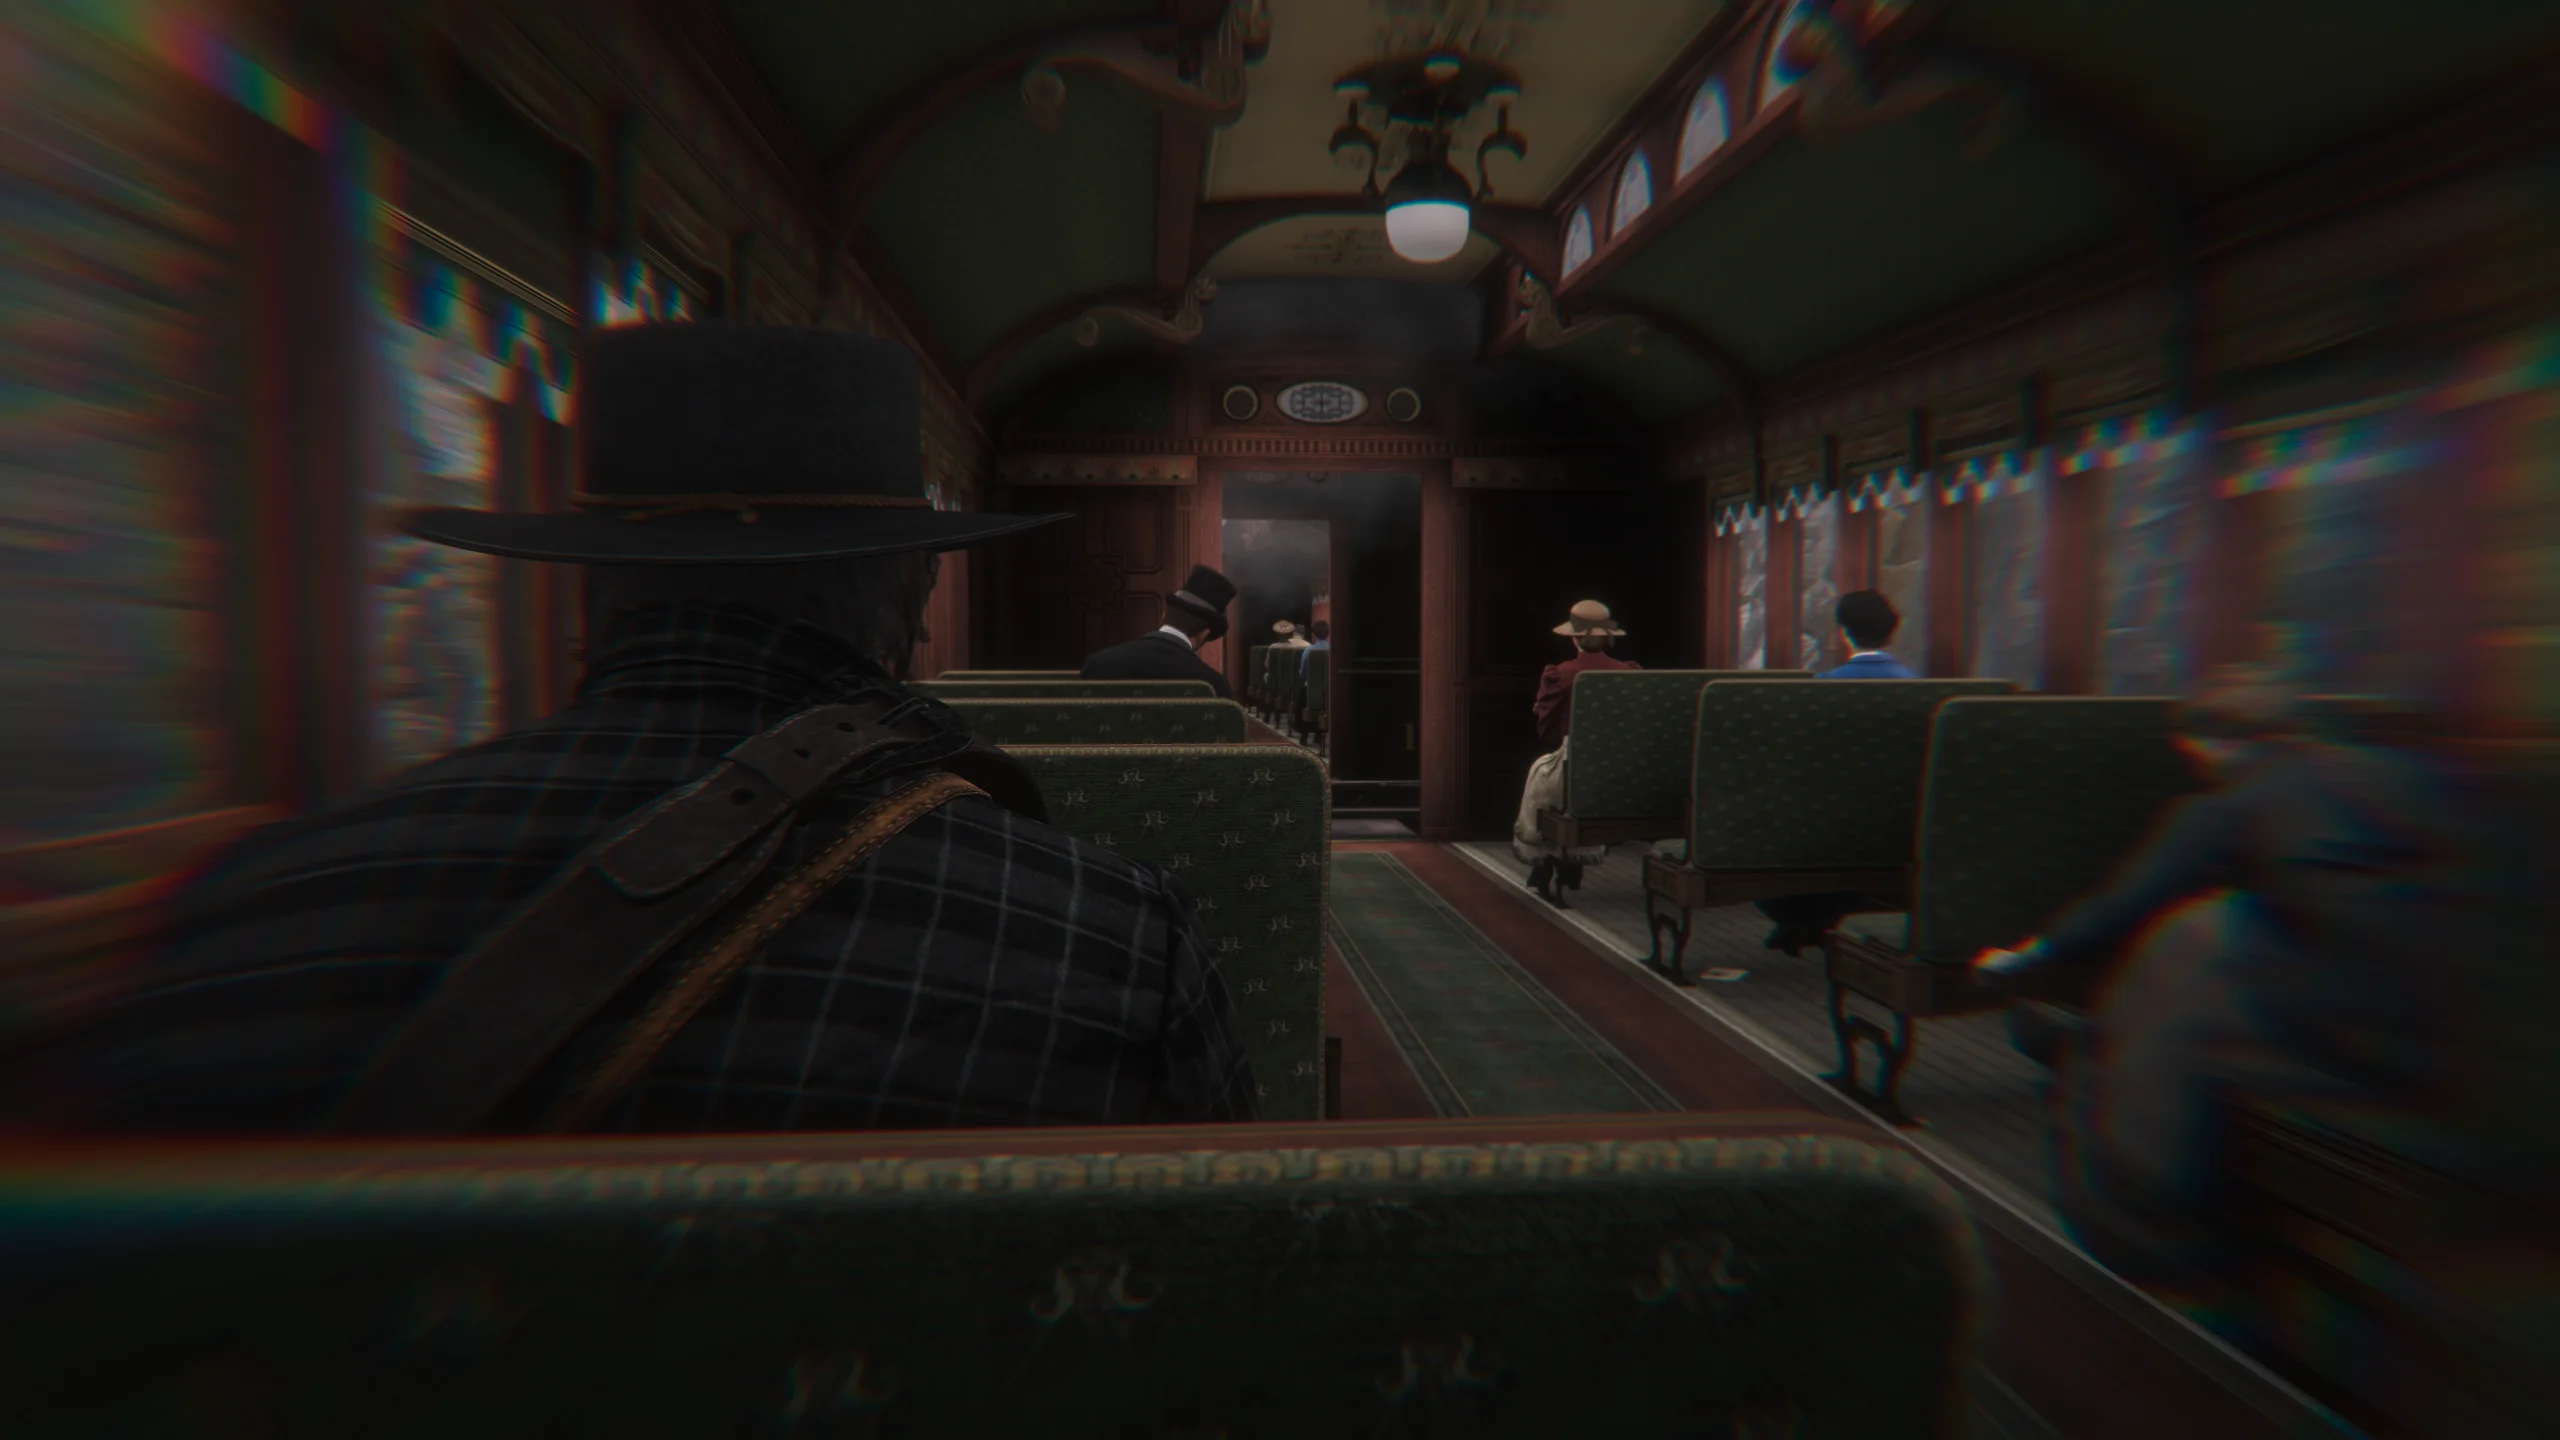
Meerkat Demo
07 January, 2024
meerkat demo with custom lens flare and chromatic aberration
After several years using Unreal, I finally said enough is enough and vowed to replace Unreal's chromatic aberration & lens flare effects with far superior implementations.
A few weeks of tinkering later and a small demo video to show off my work, voila.
Why though?
Anyone with an attentive eye who's played around with a Post Process Volume knows about Unreal's crappy chromatic aberration & lens flare effects, largely unchanged since they were first committed to the Unreal Engine repo 10 years ago.
Chromatic Aberration
Out of the box, Unreal's chromatic aberration effect just samples the scene 3 times (for red, green & blue) at 3 different offsets, then appends each of the sampled channels back into one final image. Yes really, it's that simple.


Unreal Engine's out-of-the-box chromatic aberration effect, as shown on the official Unreal Engine documentation
Whilst very performant, it doesn't look great. In fact, it looks so not great that any user with a very fundamental knowledge of how computer graphics works can easily pick apart exactly how the effect works just by looking at it. And that just so happens to be the point where I deem an effect needs to be updated.
Of course, there's no need to reinvent the wheel on something as popular as chromatic aberration, so I went looking for chromatic aberration shaders that I could implement into Unreal (which consists of launching RDR2 with a trainer and ReShade installed and going through shaders on GitHub until I find something performant & beautiful).
A few hours later, I settled on Prism by Jakub Maksymilian Fober.


Prism in Red Dead Redemption 2
Like most chromatic aberration shaders, it samples the scene times, each at a different offset, then multiplies the sample by a color determined by the offset. Take a look:
float3 Spectrum(float hue)
{
	float3 hueColor;
	hue *= 4f; // slope
	hueColor.rg = hue - float2(1f, 2f);
	hueColor.rg = saturate(1.5 - abs(hueColor.rg));
	hueColor.r += saturate(hue - 3.5);
	hueColor.b = 1f - hueColor.r;
	return hueColor;
}

void ChromaticAberrationPS(
	float4 pixelPos  : SV_Position,
	float2 viewCoord : TEXCOORD,
	out float3 color : SV_Target
)
{
	// Get radius at increasing even powers
	float4 pow_radius;
	pow_radius[0] = dot(viewCoord, viewCoord);     // r²
	pow_radius[1] = pow_radius[0] * pow_radius[0]; // r⁴
	pow_radius[2] = pow_radius[1] * pow_radius[0]; // r⁶
	pow_radius[3] = pow_radius[2] * pow_radius[0]; // r⁸
	// Brown-Conrady division model distortion
	float2 distortion = viewCoord * (rcp(1f + dot(K, pow_radius)) - 1f) / normalize(BUFFER_SCREEN_SIZE) * 0.5; // radial distortion
	// Get texture coordinates
	viewCoord = pixelPos.xy * BUFFER_PIXEL_SIZE;
	// Get maximum number of samples allowed
	uint evenSampleCount = min(ChromaticSamplesLimit - ChromaticSamplesLimit % 2, CHROMATIC_ABERRATION_MAX_SAMPLES); // clamp value
	// Get total offset in pixels for automatic sample amount
	uint totalPixelOffset = uint(ceil(length(distortion * BUFFER_SCREEN_SIZE)));
	// Set dynamic even number sample count, limited in range
	evenSampleCount = clamp(totalPixelOffset + totalPixelOffset % 2, 4, evenSampleCount);

	// Sample background with multiple color filters at multiple offsets
	color = 0f; // initialize color
	for (uint i = 0; i < evenSampleCount; i++)
	{
		float progress = i / float(evenSampleCount - 1u) - 0.5;
		progress = lerp(progress, 0.5 - abs(progress), AchromatAmount);
		color +=
			// Manual gamma correction
			GammaConvert::to_linear(
				tex2Dlod(
					BackBuffer, // image source
					float4(
						progress // aberration offset
						* distortion // distortion coordinates
						+ viewCoord, // original coordinates
					0f, 0f)).rgb
			)
			* Spectrum(i / float(evenSampleCount)); // blur layer color
	}
	// Preserve brightness
	color *= 2f / evenSampleCount;
	color = GammaConvert::to_display(color); // linear workflow
	color = BlueNoise::dither(color, uint2(pixelPos.xy)); // dither
}
It's self-contained and quite small. A great candidate for a quick implementation into Unreal.
Style
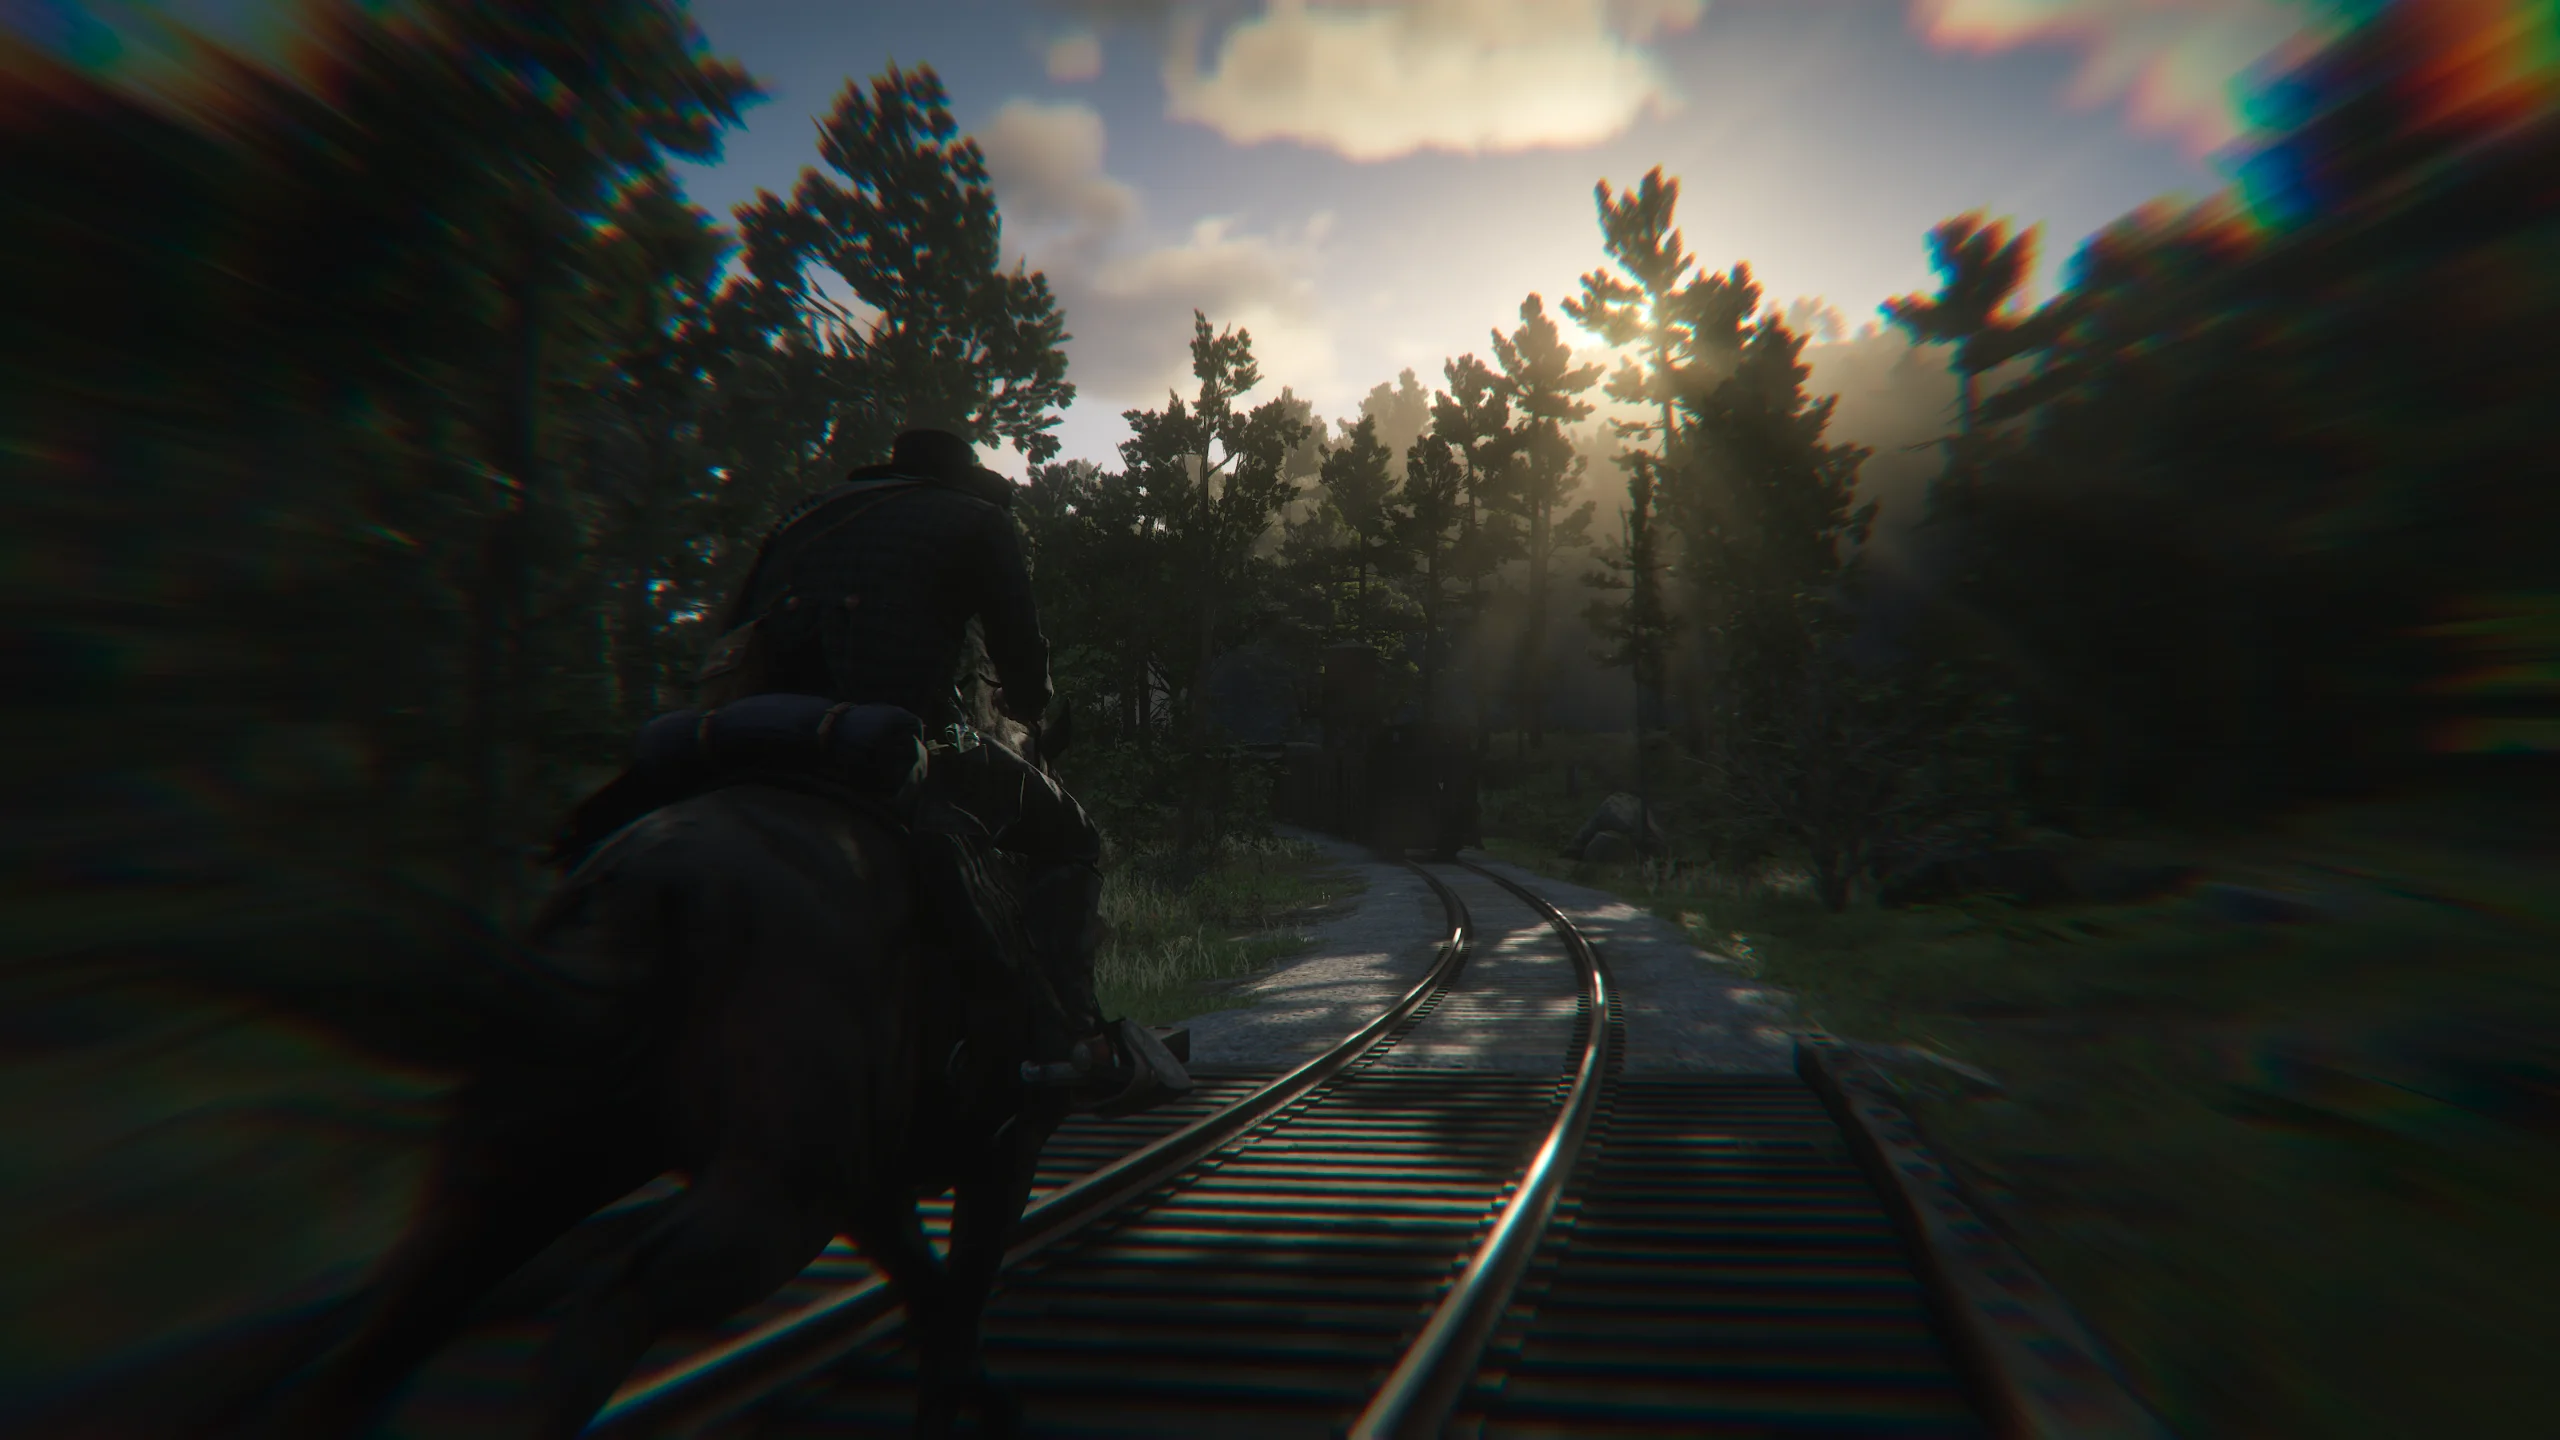
You might've noticed that the chromatic aberration in Meerkat Demo and Prism isn't quite 1-to-1. That's because I'm a massive fan of anamorphic lenses and the visual artifacts that come along with them.
Ever since the (now long forgotten) reveal trailer for Minecraft Earth in 2019, I've been obsessed with the camera and lens setup used in the trailer. It's what inspired me to turn the chromatic aberration into a radial effect instead of the typical (and physically accurate) zoom.

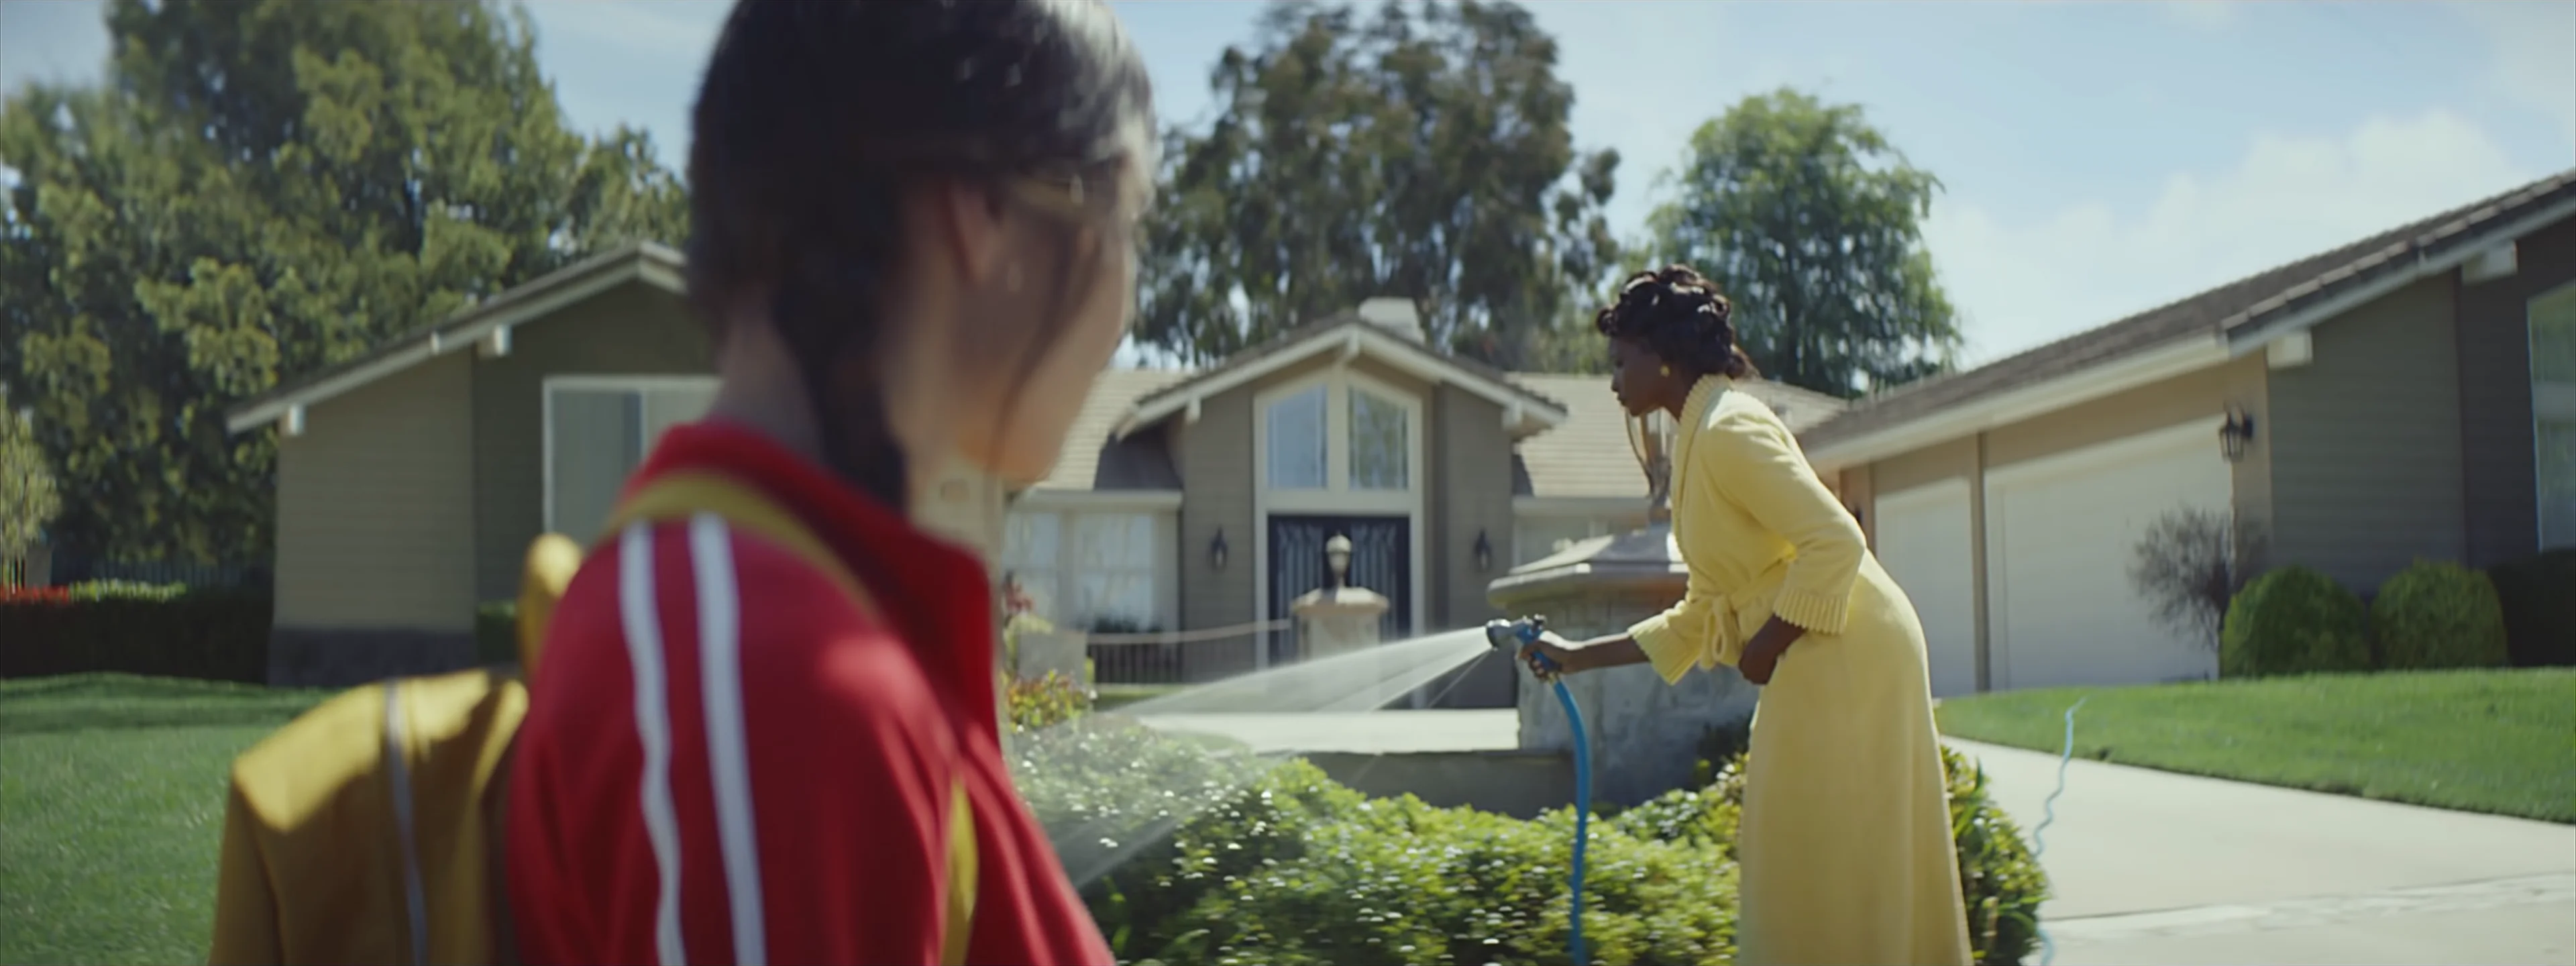


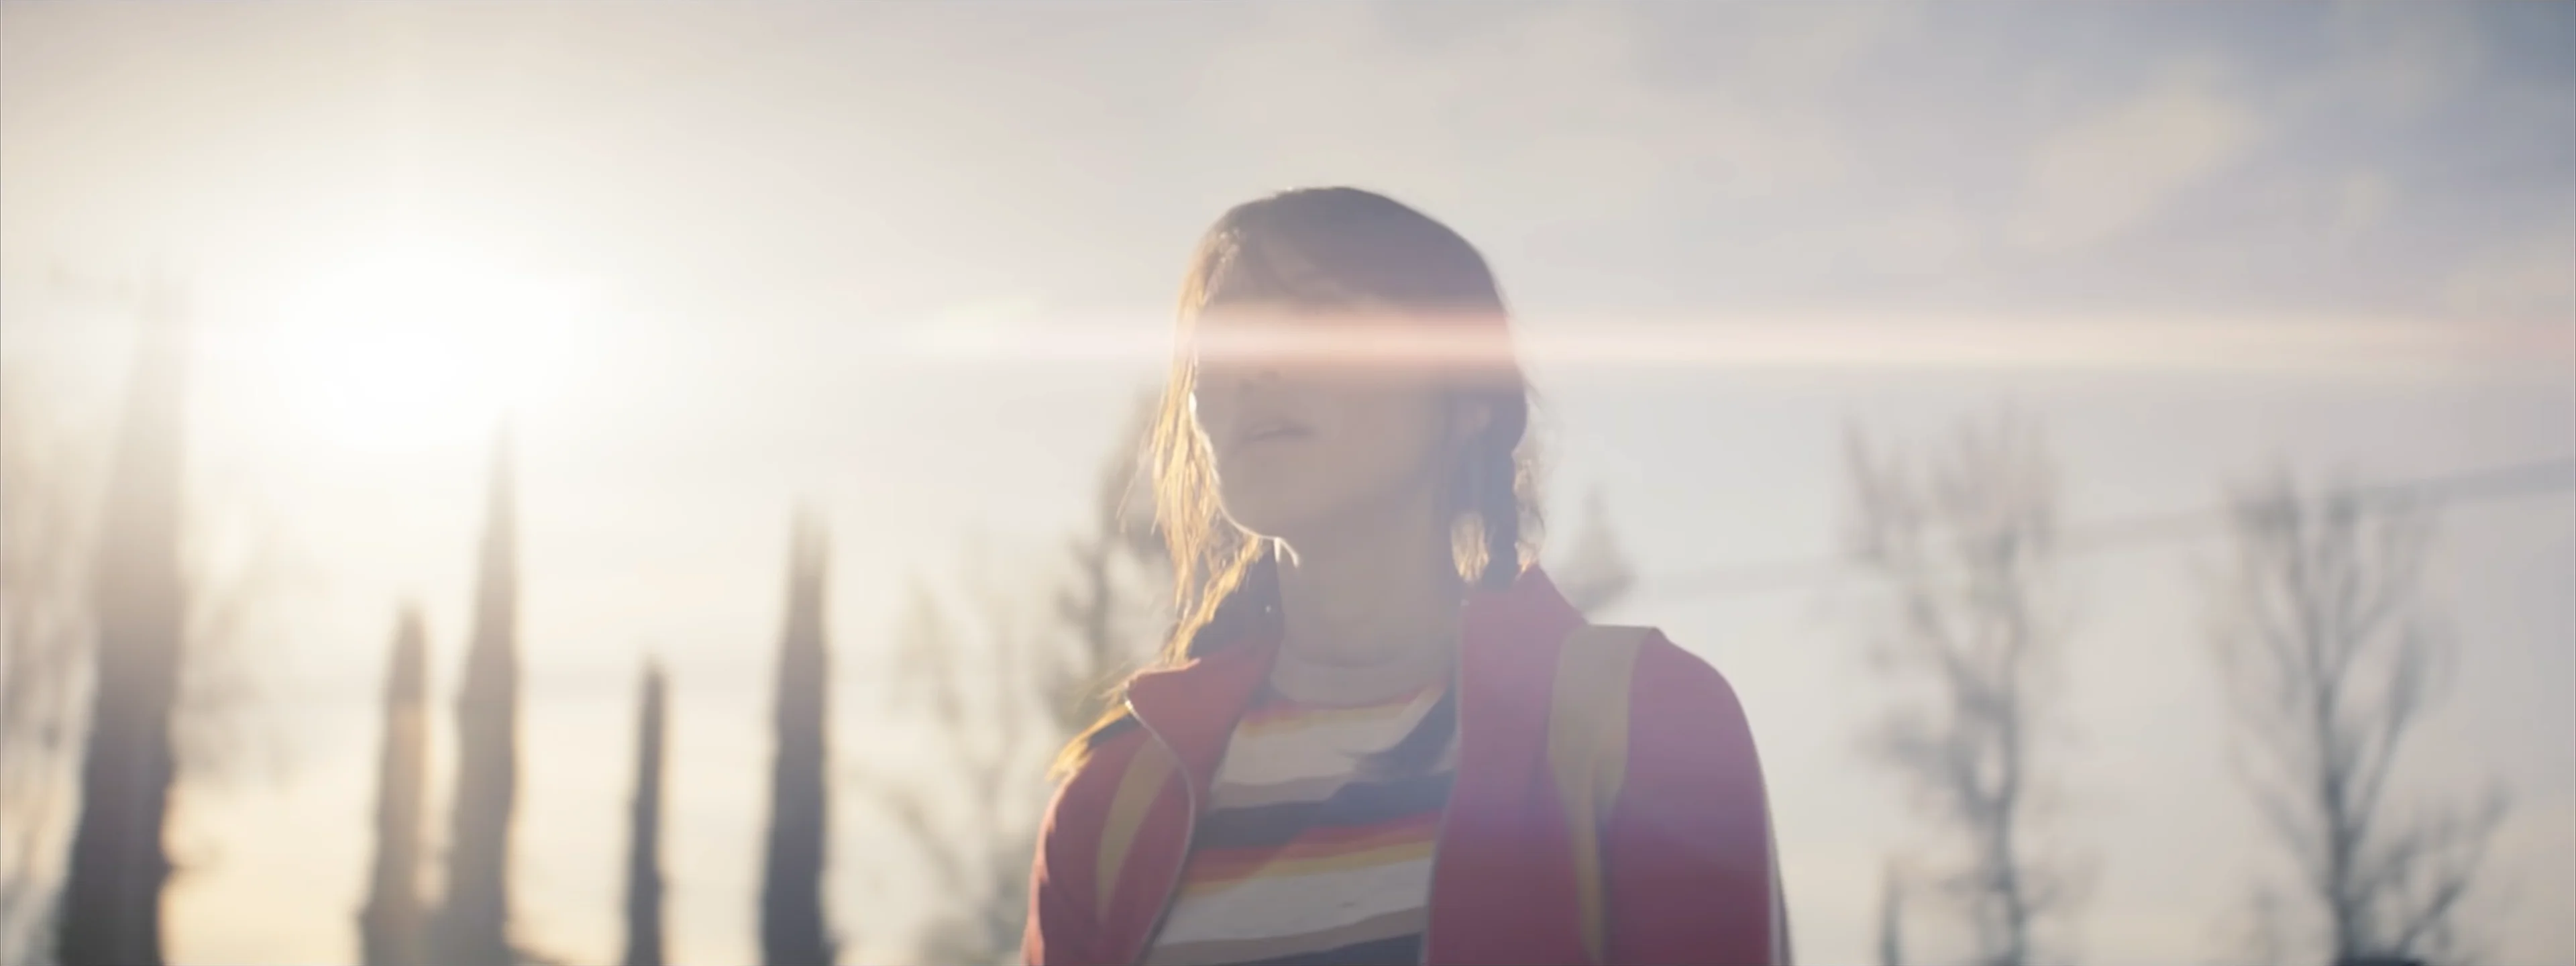


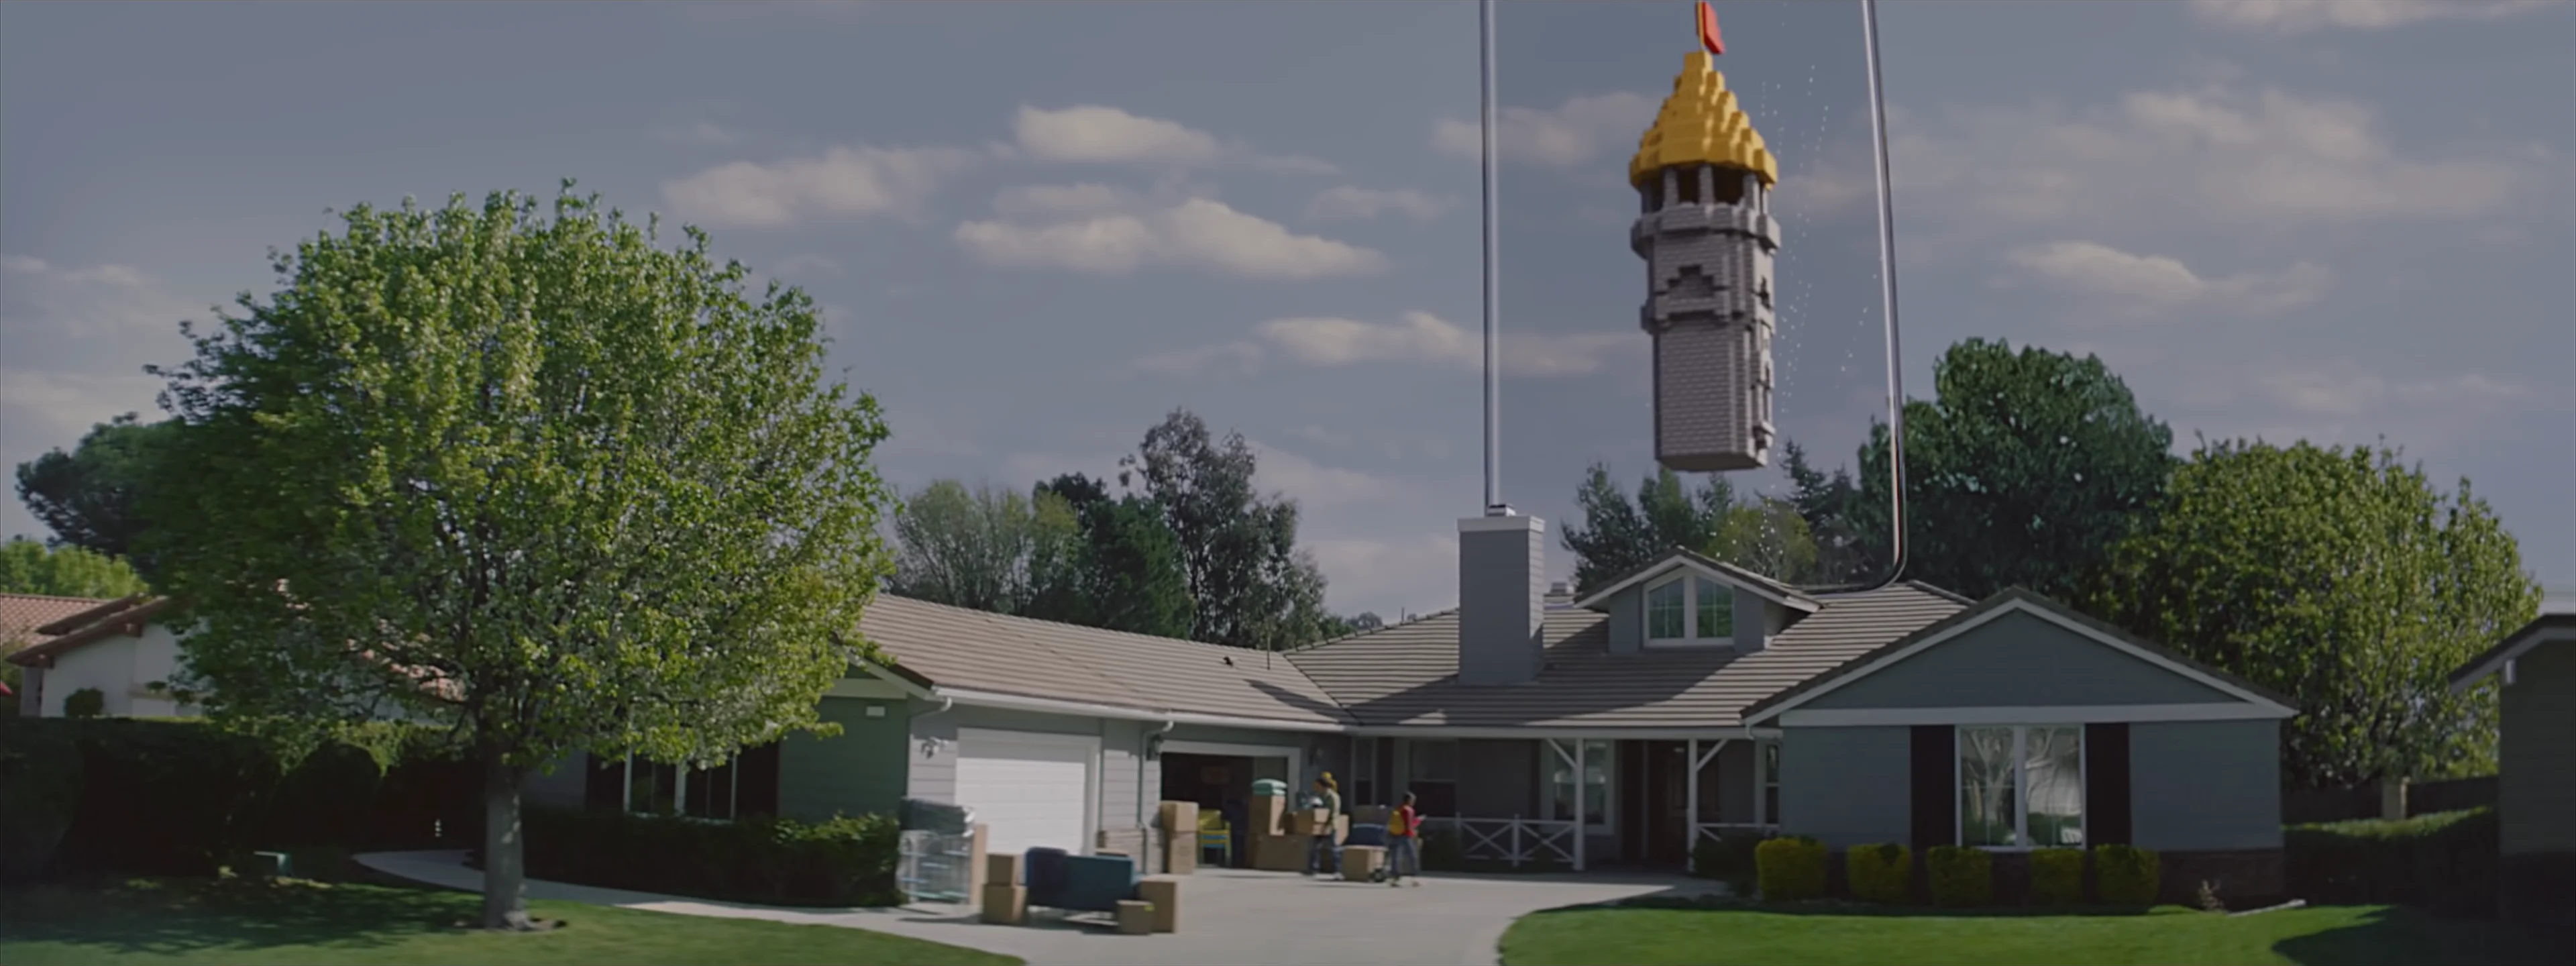

Notice the horizontal stretching of the bokeh at the top & bottom of the frame and vertical stretching at the sides